
How to Build and Test a Homemade Insulated Cooker
By Kelly Smith ·
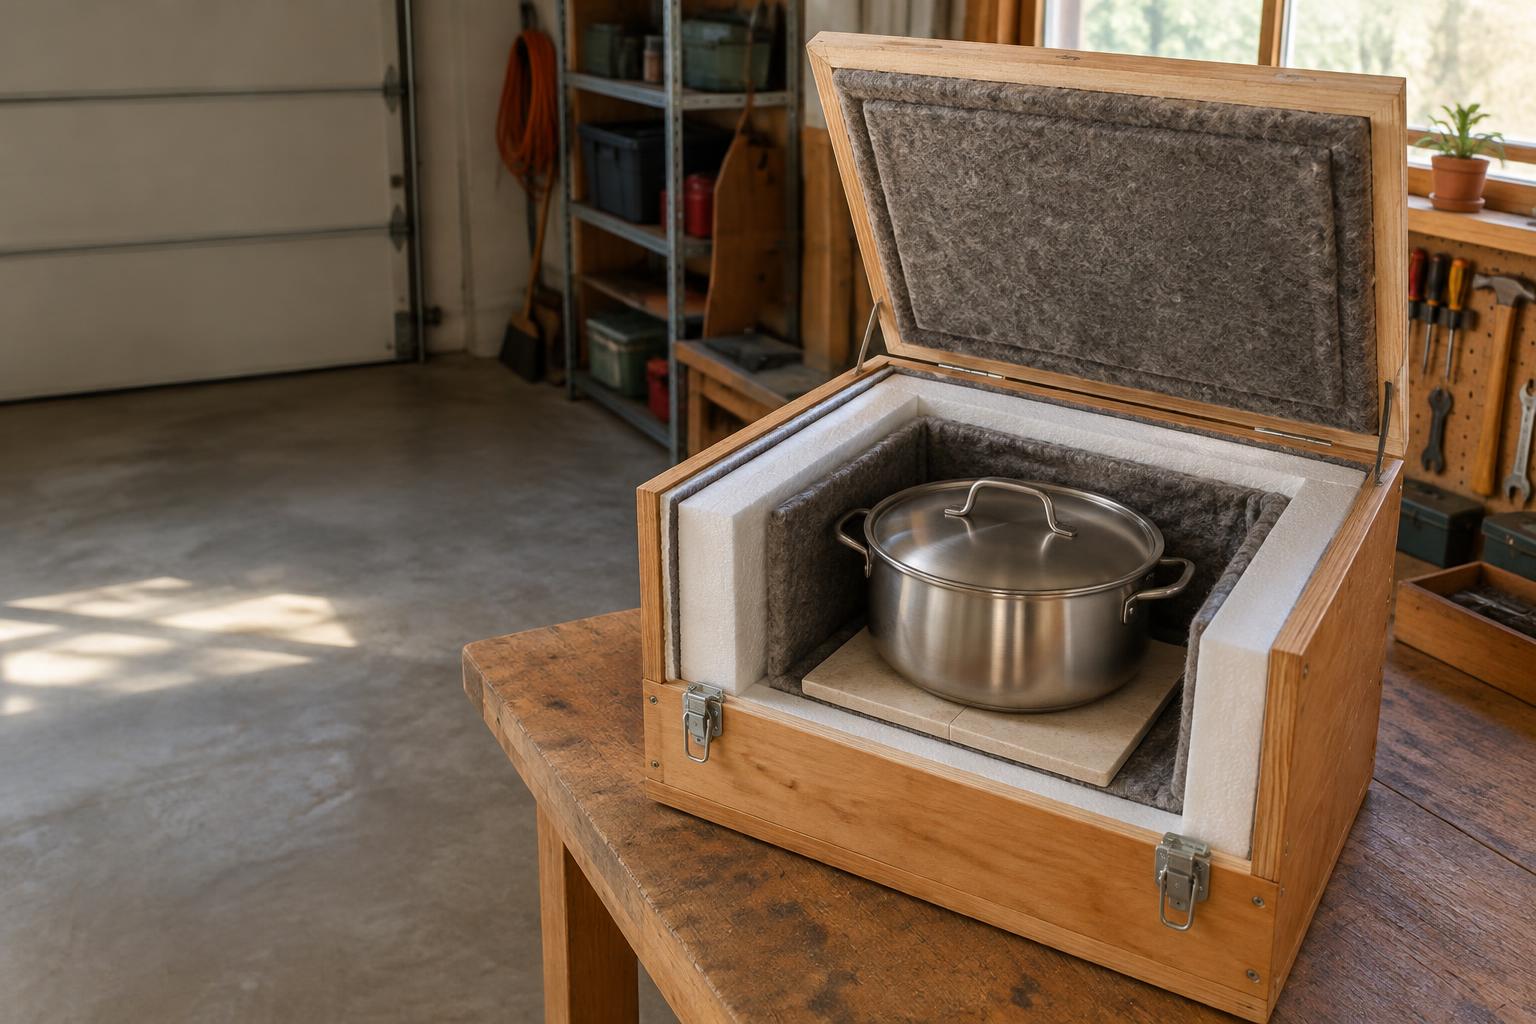
A simple box, some insulation, and a thermometer can stretch your cooking fuel a long way. Here's how to build one and prove it works before an emergency.
In my article on cooking without constant heat, I explained the idea behind retained-heat cooking: bring the food to a boil, then let insulation do the rest. This guide is the hands-on part. We'll build a homemade insulated cooker, sometimes called a haybox, and then test it so you know exactly what it can and can't do.
The most important word in this whole article is test. An insulated cooker you've never measured is a guess. One you've tested with a thermometer is a tool you can trust.
What You'll Need
You can build a good cooker from things many families already have. Here is a simple list:
- An outer box. An ice chest, a sturdy wooden box, or a large plastic tote. It should be big enough to leave 2 to 3 inches of insulation on every side of your pot.
- A cooking pot with a tight lid. Stainless steel or cast iron works well. Heavier pots hold more heat. Fill it at least two-thirds full when you cook, because a full pot holds heat much longer than a half-empty one.
- Insulation. Wool blankets, old quilts, towels, foam board, or a mix. Wool and quilts are easy to work with and safe around a warm pot.
- A heat-resistant trivet. A ceramic tile, a wooden trivet, or a folded thick towel to keep the hot pot off the bottom of the box.
- A pillow or cushion for the top. A stuffed pillow, folded blanket, or a foam "lid" cut to fit.
- A food thermometer. A probe thermometer is best. This is not optional.
Step-by-Step: Building the Cooker
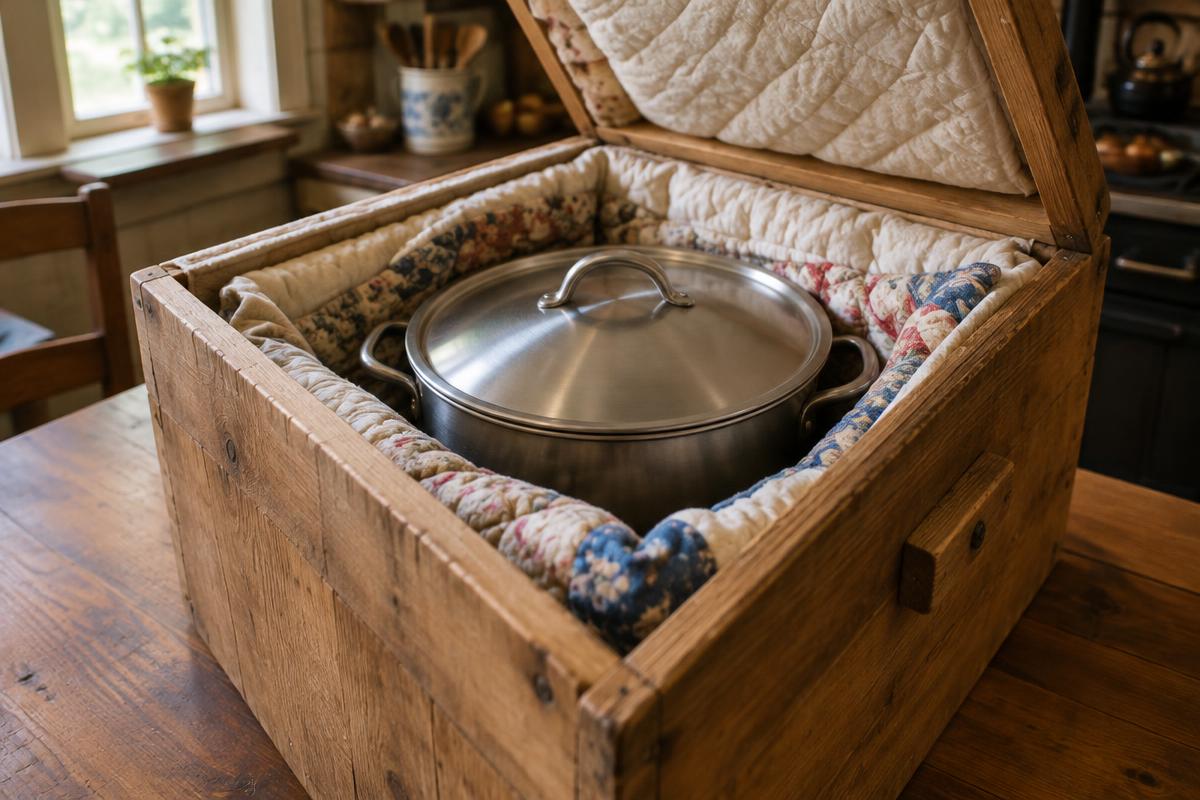
- Line the bottom. Lay a few inches of insulation in the bottom of the box, then set the trivet on top. The trivet keeps the hottest part of the pot from pressing directly on foam or plastic.
- Make a nest. Set an empty pot on the trivet and pack blankets or towels tightly around the sides. You want the pot snug, with no big air gaps.
- Lift out the pot. Carefully remove the empty pot, leaving a pot-shaped hollow. If you used foam board, cut panels to line the walls and add fabric on the inside so hot metal never touches the foam.
- Prepare the top. Make a pillow or folded blanket that covers the top of the pot completely and fills the space up to the lid of the box.
- Check the fit. The lid of the box should close firmly with a little pressure. If it won't close, you have too much insulation on top. If it closes loosely, add more.
A Word About Ice Chests
An ice chest makes a great outer shell, but its plastic lining and foam can soften or warp if hot metal sits against them. Always use a trivet on the bottom and a layer of fabric between the pot and the walls. Never set a pot straight from the burner onto the bare plastic.
How to Use It
- Bring your food and liquid to a full, rolling boil on the stove. For most foods, keep it boiling for a few minutes so the whole pot is heated through, not just the top.
- Put the lid on, turn off the burner, and move the pot into the cooker right away. Speed matters. Every minute in the open air costs you heat.
- Cover with the pillow and close the box.
- Leave it alone. Opening the box to peek lets heat escape.
- When the time is up, check doneness and use your thermometer before serving.
Remember to cook only outdoors if you're using a propane, butane or camp stove, unless the stove is specifically rated for indoor use. The insulated cooker itself uses no fuel and is fine to keep inside.
Testing Your Cooker
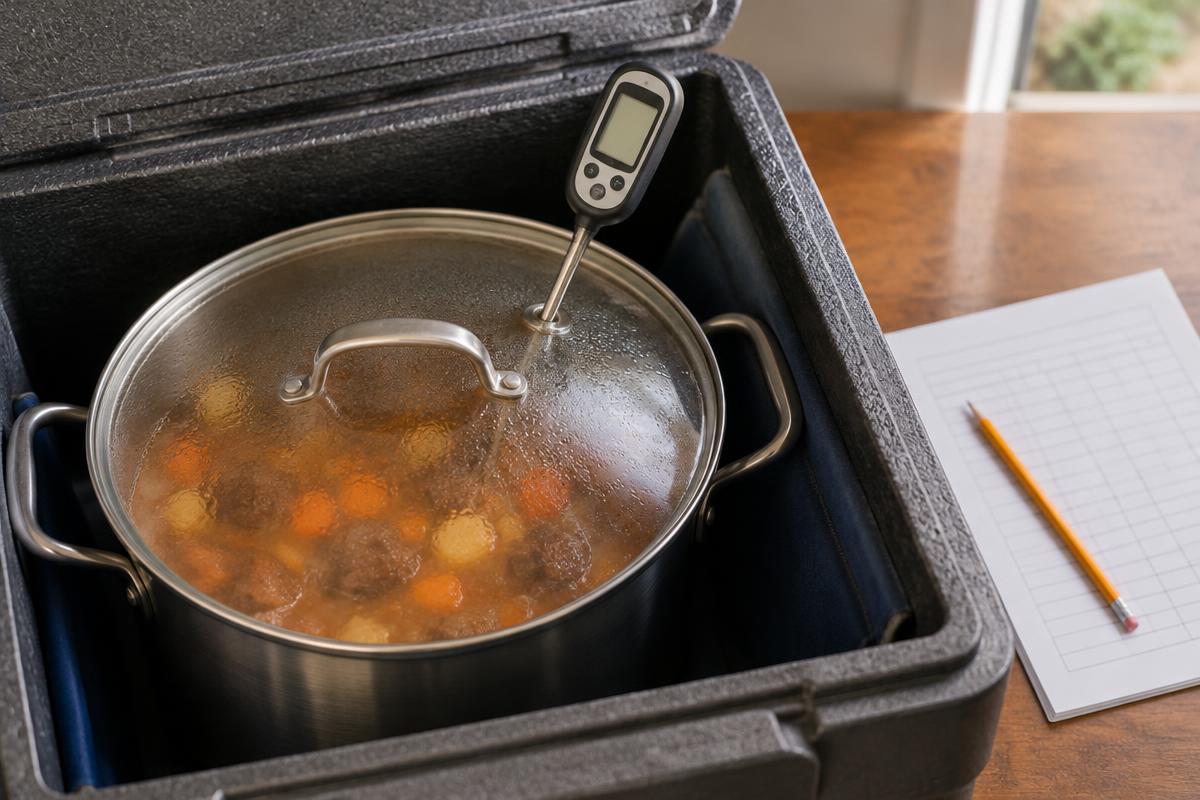
Before you rely on your cooker for real food, test it with water. This tells you how fast it loses heat.
- Fill your pot two-thirds full with water.
- Bring it to a full boil, put the lid on, and move it into the cooker.
- Record the temperature right away, then every 30 minutes for 4 hours.
- Write down the outside air temperature too. A cold garage will give you very different results than a warm kitchen.
I've made a free printable Insulated Cooker Temperature Log you can use to write down your readings.
What the Numbers Mean
- Above 180°F: good cooking range for grains, beans that have already boiled well, and soups.
- 140°F to 180°F: food is staying hot and safe, but cooking slows down a lot.
- Below 140°F: this is the danger zone, where bacteria can grow. Once your food drops below 140°F, take it out. Serve it, reheat it, or refrigerate it promptly.
Your goal is to learn how many hours your cooker keeps food above 140°F. A well-built cooker with a full, heavy pot will often stay above that for several hours, but yours may be different. That is exactly why we test.
How to Improve Your Results
- Use a heavier, fuller pot.
- Add more insulation, especially on top, where most heat escapes.
- Close up any air gaps around the pot.
- Preheat the box by setting a pot of boiling water in it for 10 minutes before you put the real food in.
Food Safety Rules for Insulated Cookers
- Start with a full boil. The insulation only holds heat; it can't create it.
- Use a thermometer every time until you know your cooker well.
- Don't cook raw meat or poultry from start to finish in a homemade cooker. Brown or cook it on the stove first, then use the cooker to finish the dish.
- Dry kidney beans must boil hard for at least 10 minutes before going into the cooker.
- Don't leave cooked rice sitting in a slowly cooling cooker. See my article on cooked rice safety for why.
- If food has sat below 140°F for more than 2 hours, throw it out.
Practice Now
Build your cooker this month and use it once a week for something simple, like oatmeal, rice, or a pot of soup. Write down the temperatures and times. Within a few weeks you'll know your cooker as well as your own oven, and you'll have a real fuel-saving tool ready for an emergency.
For recipes to try, see 7 Practical Ways to Cook Emergency Meals Using Very Little Fuel. To see how much fuel thermal cooking could save your family, try the free Emergency Cooking Fuel Calculator. You can also plan your food storage with the free Food Storage Calculator and Family Emergency Planner. None of these tools need an account or save your information.
A Closing Thought
There's something humbling about a box full of old blankets keeping supper hot for hours. It reminds me that we often have more than we think. Jesus fed a multitude with five loaves and two fishes, and when everyone had eaten, there were twelve baskets left over (Matthew 14:17–20).
I don't think the lesson is that we should expect a miracle every time the fuel runs low. I think it's that God can do a great deal with small things when we offer them to Him and use them wisely. A homemade cooker is a small thing. But taking care of what we have, and learning to make it go further, is a kind of faithfulness I want to practice every day, not just in hard times.
References
- U.S. Environmental Protection Agency — Guide to Designing Retained Heat Cookers: https://nepis.epa.gov/Exe/ZyPURL.cgi?Dockey=60000I1U.TXT
- USDA — Leftovers and Food Safety: https://www.fsis.usda.gov/food-safety/safe-food-handling-and-preparation/food-safety-basics/leftovers-and-food-safety
- FDA — Bad Bug Book: https://www.fda.gov/food/foodborne-pathogens/bad-bug-book-second-edition
Related articles
Long-Term Food Tips
Cooking Without Constant Heat: How to Save Fuel During an Emergency
Bring the pot to a boil, turn off the stove, and let stored heat finish the job. Here's how retained-heat cooking can stretch your emergency fuel.
Read “Cooking Without Constant Heat: How to Save Fuel During an Emergency”Long-Term Food Tips
7 Practical Ways to Cook Emergency Meals Using Very Little Fuel
Thermos oatmeal, covered-pot couscous, thermal cooker rice and no-cook meals: seven simple ways to feed your family on very little fuel.
Read “7 Practical Ways to Cook Emergency Meals Using Very Little Fuel”Fuel, Heat, Cooking & Light
Cooking Off-Grid: Rocket Stoves, Camp Stoves, and Stovetop Ovens
Food storage doesn't do you much good if you can't cook it. Here's how I think about boiling, frying, and baking when the power is out.
Read “Cooking Off-Grid: Rocket Stoves, Camp Stoves, and Stovetop Ovens”