Cooking Without Constant Heat: How to Save Fuel During an Emergency
By Kelly Smith ·
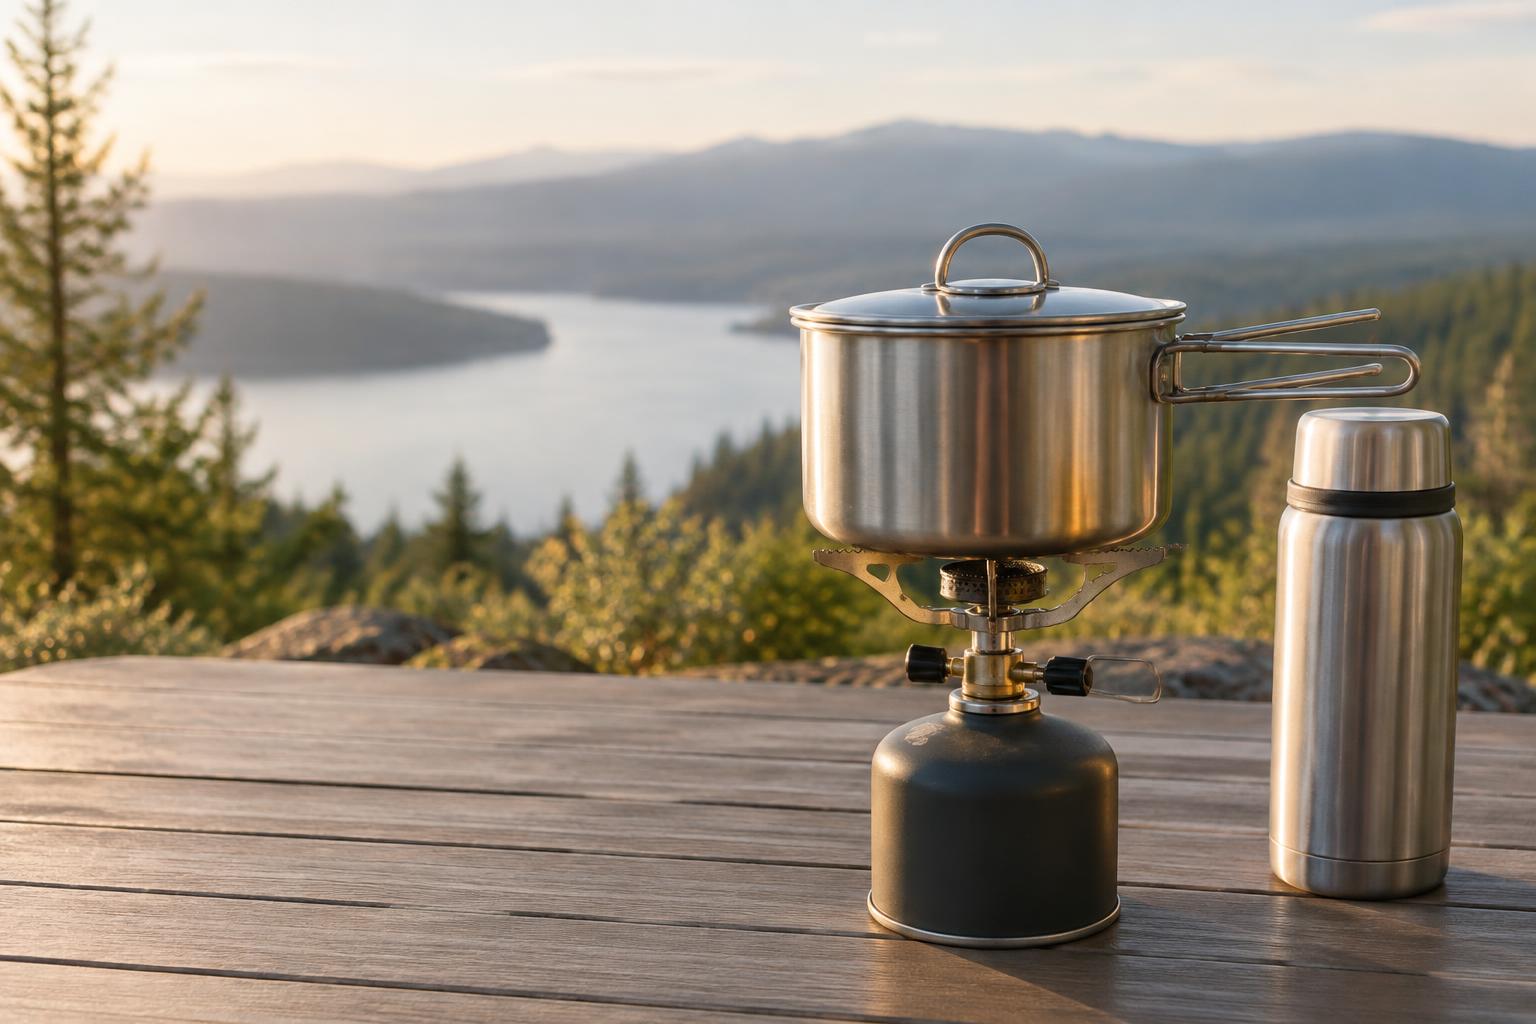
Learn how thermos cooking, thermal cookers, insulated pots, and fuel-free meal preparation can help your family conserve precious cooking fuel when the power goes out.
Imagine a major earthquake strikes your community. Electricity is unavailable, natural gas service has been interrupted, and nobody knows when utilities will be restored.
You have plenty of emergency food stored, including rice, beans, oats, pasta, and dehydrated vegetables.
You also have a propane camping stove and a limited supply of fuel.
But here's the problem: If you cook every meal by keeping a burner running until the food is completely done, your propane supply may disappear much faster than you anticipated.
What if you could bring a pot of food to a boil, turn off the stove, and let the food continue cooking for another 30 minutes, an hour, or even longer—without using another ounce of fuel?
You can. And the principle has been used for generations.
If you'd rather jump straight to step-by-step recipes, my companion article, 7 Practical Ways to Cook Emergency Meals Using Very Little Fuel, walks you through them.
It's called retained-heat cooking, and it may become one of the most useful skills in your family's emergency preparedness plan.
Why Cooking Fuel Matters During an Emergency
Most families focus on storing food and water. Far fewer calculate how much fuel they'll need to prepare that food.
Consider the difference between storing canned beans and dry beans.
Canned beans have already been cooked. They can generally be eaten directly from the can without heating.
Dry beans require water, preparation, and substantial cooking time. Depending on the variety and method, they may require an hour or more of heating after soaking.
If you're depending on a small propane stove, the difference in fuel consumption can be significant.
The same principle applies to rice, pasta, soups, stews, and other foods commonly found in emergency storage.
The goal isn't necessarily to cook faster. It's to use less fuel while still preparing food safely.
1. Understanding Retained-Heat Cooking
When you heat food in a pot, energy transfers from the burner into the pot, water, and food.
Once everything is sufficiently hot, that stored energy doesn't disappear immediately when the burner is turned off.
Instead, the food gradually cools as heat escapes into the surrounding air.
If you surround the cooking pot with insulation, you slow that heat loss considerably.
The food can continue cooking while it remains sufficiently hot.
This is the principle behind several cooking systems:
- Vacuum-insulated thermos bottles
- Commercial thermal cookers
- Haybox cookers
- Insulated cooking boxes
- Wonderbags and other fabric thermal cookers
- Covered pots surrounded by suitable insulation
The concept is similar to the way a thermos keeps coffee hot for hours.
The difference is that you're using the retained heat to finish cooking food.
How Much Fuel Can You Save?
Retained-heat cooking can substantially reduce the amount of time a burner must remain on.
Published guidance on fireless and retained-heat cookers describes potential fuel savings of approximately 50% or more for suitable cooking tasks.
Some systems and recipes may achieve greater savings.
Actual results depend on the food, the quantity being prepared, the amount of water, the cookware, the insulation, and the heat source.
A family that normally simmers a pot of food for 45 minutes but needs only 10 minutes of active heating with a thermal cooker would reduce burner-on time by approximately 78%.
That does not automatically guarantee a 78% reduction in fuel consumption, but it illustrates why the technique is worth learning.
2. Thermos Cooking: Preparing Meals in an Insulated Bottle
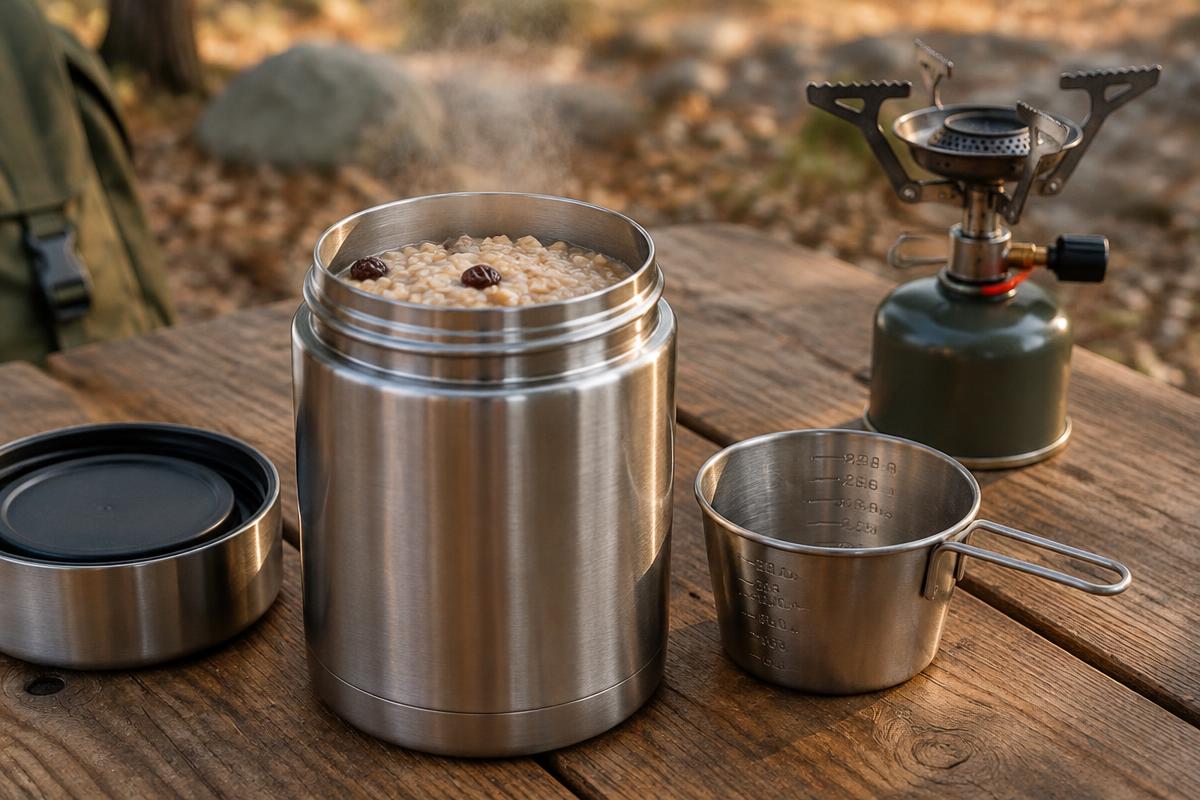
A vacuum-insulated food container is one of the simplest pieces of emergency cooking equipment.
Many people already own one.
Unlike an ordinary plastic food container, a quality stainless steel vacuum flask is designed to slow heat loss.
That makes it useful for preparing small portions of certain foods with very little active heating.
How Thermos Cooking Works
- Heat enough clean water to preheat your thermos and prepare the food.
- Fill the thermos with hot water and close the lid for several minutes.
- Empty the preheating water. Save it for another appropriate use if practical.
- In a separate pot, bring your food and its cooking liquid to a boil or prepare it according to a tested thermos-cooking recipe.
- Carefully transfer the hot food and liquid into the preheated thermos.
- Close the lid immediately.
- Allow the retained heat to finish the preparation for the recipe's recommended time.
- Check that the food is properly cooked and at a safe temperature before eating.
The preheating step is important because a cold container can absorb substantial heat from the food.
Foods That Work Well
Thermos cooking is especially useful for foods that hydrate quickly or have already been processed or precooked.
Examples include instant oatmeal, instant couscous, some dehydrated soups, and suitable freeze-dried meals.
Certain grains may also work with tested recipes that include sufficient initial heating.
However, a thermos is not a pressure cooker, and it cannot guarantee that every food will reach or maintain a safe cooking temperature.
Raw meat, poultry, and dried kidney beans should not be cooked solely by placing them in a thermos and waiting.
Why a Wide-Mouth Thermos Is Better
For emergency food preparation, a wide-mouth vacuum-insulated food jar is generally more practical than a narrow drinking bottle.
It's easier to fill, stir, serve from, and clean.
Choose a container intended for hot food and follow the manufacturer's instructions.
3. Commercial Thermal Cookers: The Saratoga Jacks Approach
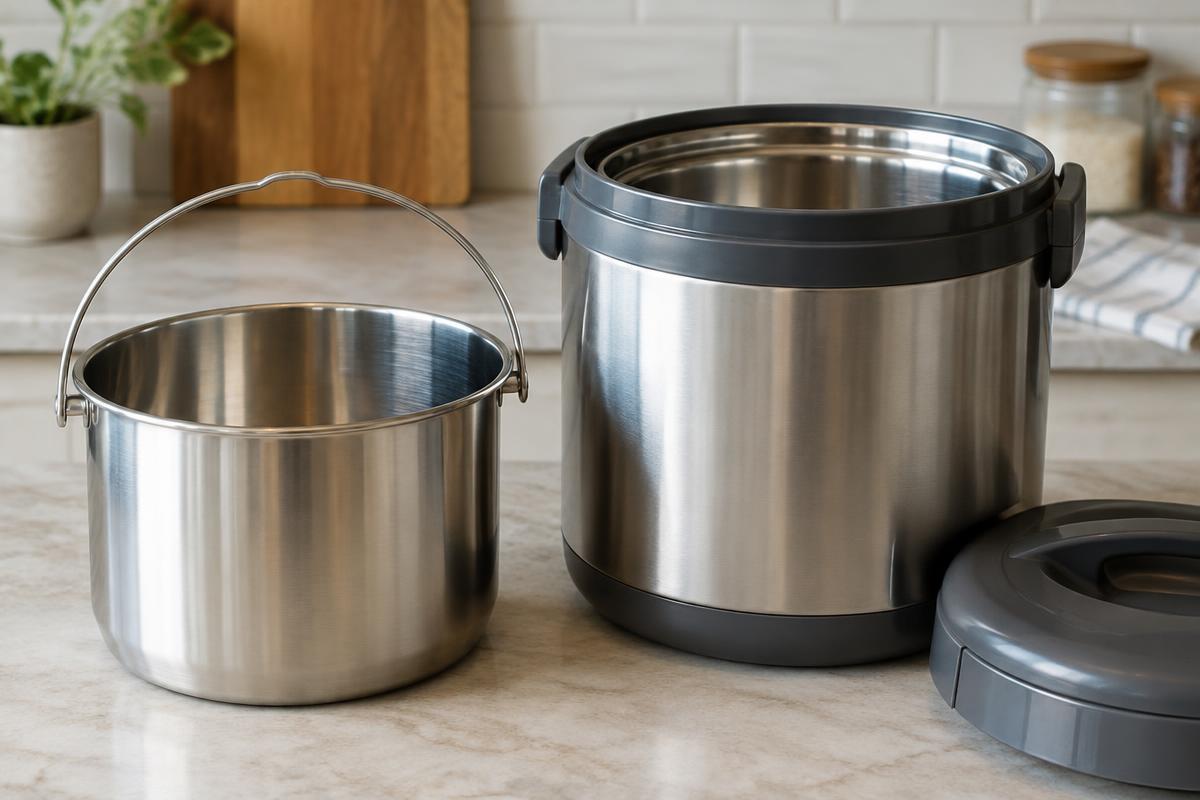
Commercial thermal cookers take retained-heat cooking to another level.
One example is the Saratoga Jacks thermal cooker, which uses a stainless steel inner cooking pot and an insulated outer container.
The inner pot is heated on a conventional stove. Once the food has reached the appropriate initial cooking stage, the pot is transferred into the insulated outer cooker.
The outer container reduces heat loss, allowing cooking to continue without additional fuel.
Advantages of a Thermal Cooker
A thermal cooker can be particularly useful for:
- Preparing larger family meals
- Cooking suitable soups and stews
- Preparing grains using tested recipes
- Reducing propane consumption
- Avoiding continuous burner supervision
- Keeping the cooking system portable
Some commercial thermal cookers are advertised as retaining heat for many hours.
However, heat retention is not the same as guaranteed safe cooking or safe hot holding.
The food must be heated adequately before transfer, and the specific recipe must account for the gradual temperature decline.
Use a food thermometer and follow tested instructions for the particular cooker.
An Important Emergency Preparedness Advantage
A commercial thermal cooker is reusable and requires no electricity during its insulated cooking phase.
That can make it valuable when preparing meals using a propane stove, outdoor cooking burner, or other emergency heat source.
4. The Homemade Haybox Cooker: An Old Idea Worth Rediscovering
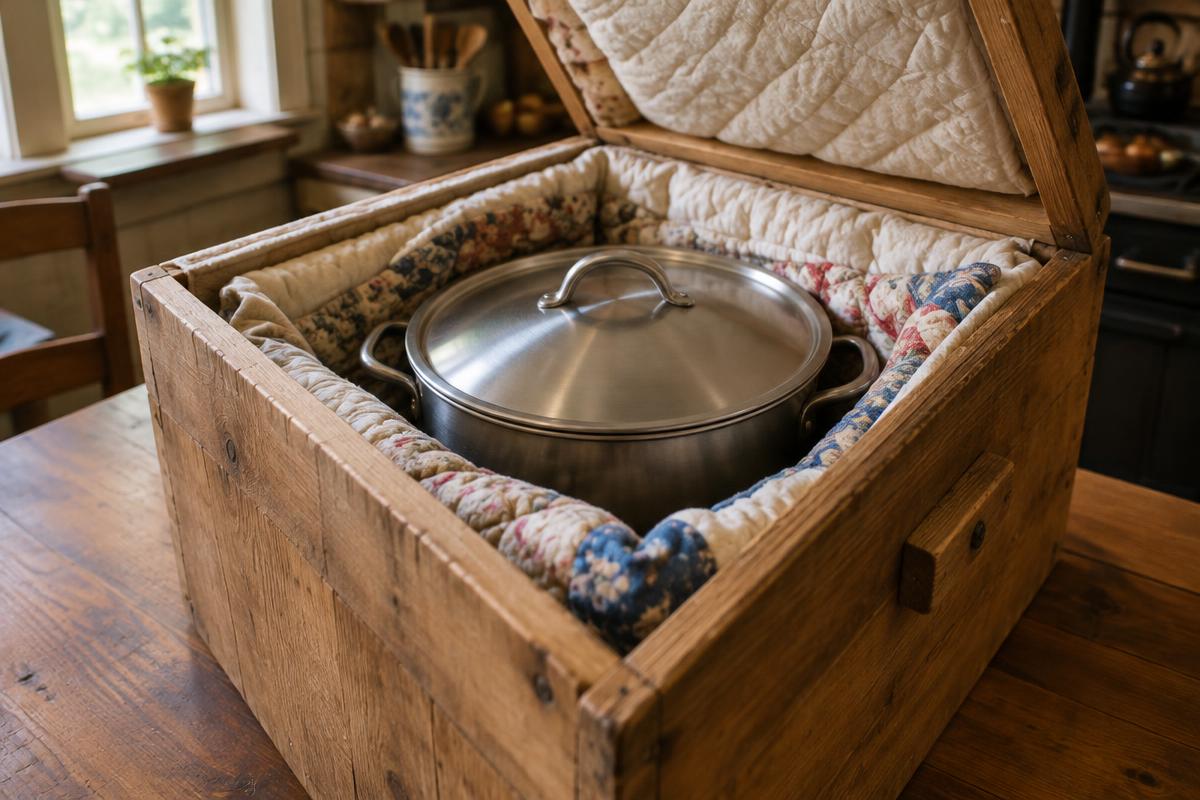
Long before modern vacuum-insulated cookware became common, people used hayboxes to conserve cooking fuel.
The idea was remarkably simple.
They heated a pot of food, removed it from the fire, and placed it inside a container packed with insulating material.
Historically, straw or hay was sometimes used, giving the method its name.
Modern versions can use purpose-built insulated boxes, suitable fabric insulation, or other heat-resistant materials.
How to Make a Simple Insulated Cooker
You'll need a sturdy box or insulated container, a cooking pot with a well-fitting lid, and enough suitable insulating material to surround the pot.
- Choose a container large enough to hold your cooking pot with insulation around it.
- Place a noncombustible, heat-resistant support at the bottom.
- Arrange insulation around the pot's intended position.
- Bring the food to a boil and complete the initial heating required by a tested recipe.
- Carefully transfer the covered pot into the insulated enclosure.
- Surround it with the insulation, keeping heat-sensitive or combustible materials away from dangerously hot cookware.
- Close the container and allow the food to finish cooking for the specified time.
- Check the food's temperature and doneness before serving.
A homemade insulated cooker can be inexpensive and effective, but it requires testing. My full guide, How to Build and Test a Homemade Insulated Cooker, covers materials, construction and a printable temperature log.
Can You Use an Ordinary Ice Chest?
Yes, an ordinary cooler can potentially serve as the insulated enclosure, provided the cookware is separated from the cooler's heat-sensitive surfaces.
However, many coolers contain plastic and foam that can deform or melt when exposed to hot metal.
Do not place a boiling-hot pot directly against a cooler's plastic lining.
Use a suitable noncombustible support and verify that the container and insulation can withstand the temperatures involved.
Never leave hot cookware in direct contact with towels, blankets, sleeping bags, or other combustible materials.
For the safest DIY approach, use a purpose-built enclosure and heat-resistant insulation.
5. Dutch Ovens: Combining Stored Heat With Insulation
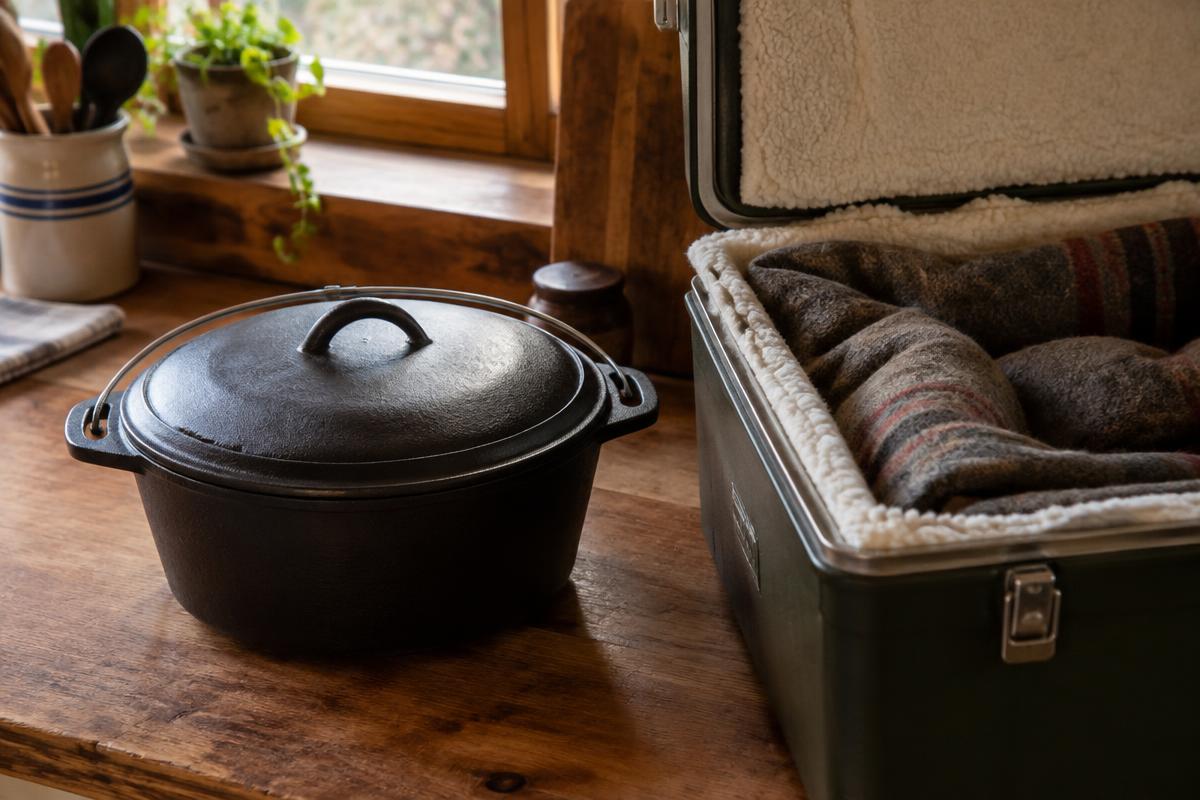
A heavy cast-iron Dutch oven stores substantial thermal energy.
This makes it useful for cooking foods that benefit from steady heat.
However, there's an important distinction.
Cast iron takes more energy to heat than lightweight cookware.
Its weight alone doesn't guarantee fuel savings.
The savings come when you combine adequate initial heating with effective insulation and eliminate unnecessary simmering.
A heavy pot may help maintain temperatures, but a properly insulated lightweight pot can sometimes be more fuel-efficient because it requires less energy to heat initially.
For emergency preparedness, the best pot is not necessarily the heaviest.
It's the pot that works efficiently with your stove, food quantity, and insulation system.
Safety note: A Dutch oven heated over charcoal or an open fire can be extremely hot. Allow exterior surfaces to cool sufficiently before placing it near insulating materials, without letting the food enter an unsafe temperature range. Do not place hot coals or embers inside an insulated cooker.
6. Cold-Soak Meals: Cooking Without a Flame
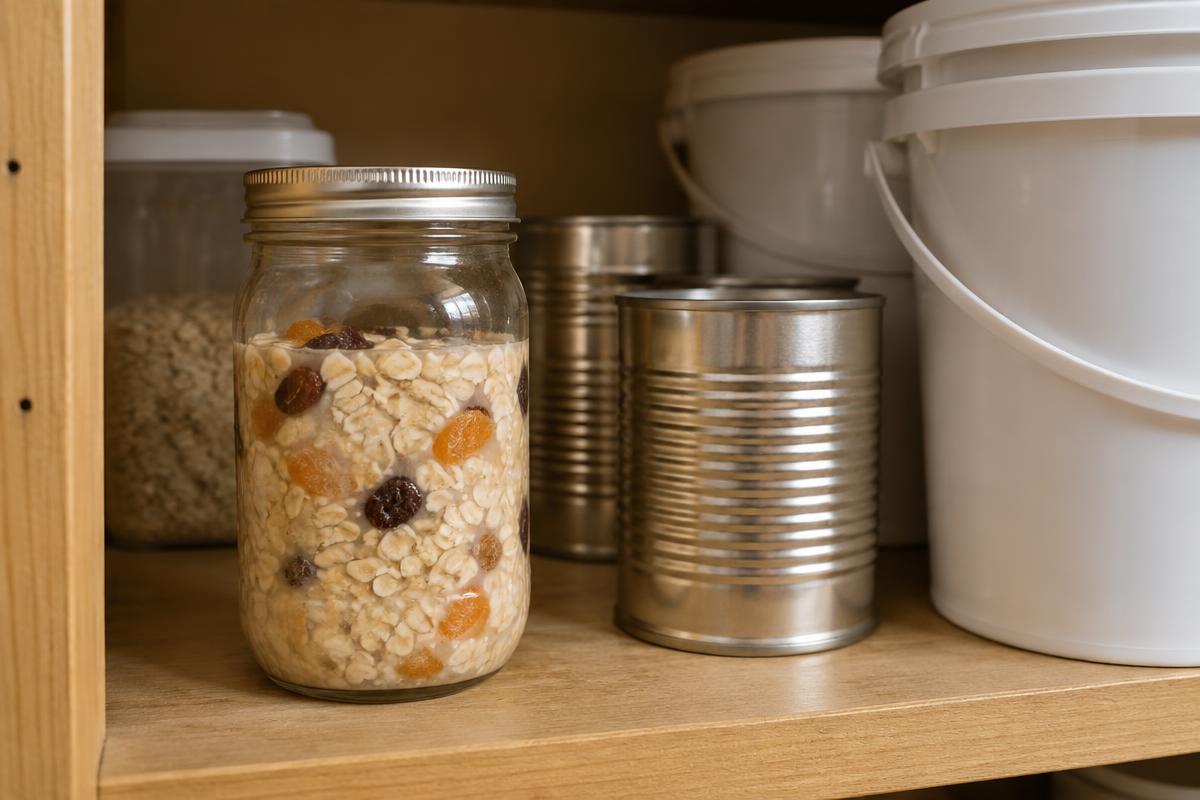
Some foods can be prepared by soaking rather than heating.
This is particularly valuable when fuel is scarce or unavailable.
Examples include:
- Rolled oats
- Instant oatmeal
- Certain precooked couscous products
- Some dehydrated or freeze-dried foods specifically labeled for cold preparation
- Ready-to-eat foods that only require rehydration
However, cold soaking is not appropriate for every food.
Raw dried beans, ordinary uncooked rice, and many other grains require proper cooking.
Overnight Oatmeal
A simple overnight oats recipe uses approximately equal volumes of rolled oats and clean liquid, adjusted to the desired consistency.
For example:
- ½ cup rolled oats
- ½ cup milk or water
- Optional dried fruit, cinnamon, or other flavorings
Combine the ingredients in a clean covered container and refrigerate overnight.
By morning, the oats will have softened and can be eaten without heating.
Important: Overnight oats should be refrigerated at 40°F or below during soaking. Do not leave them on a warm kitchen counter overnight, especially when prepared with milk.
If refrigeration is unavailable, instant oatmeal prepared with clean hot water immediately before eating is a better emergency option.
7. Combine Several Methods to Save Even More Fuel
The greatest fuel savings often come from combining several techniques.
Measure Only What You Need
Avoid cooking excessive amounts of food that will require refrigeration you may not have.
Soak Appropriate Dry Foods Before Cooking
Soaking some dried foods can shorten their cooking time.
For dried beans, follow food-safe soaking instructions, discard soaking water where recommended, and boil thoroughly as required.
Kidney beans are especially important because they contain a naturally occurring lectin that can cause illness when improperly cooked.
Use a Lid
A well-fitting lid reduces heat loss and evaporation.
Match the Pot to the Meal
A small meal in an oversized pot wastes energy heating unnecessary cookware and water.
Use Wind Protection
Wind can dramatically reduce the efficiency of outdoor stoves.
Use only manufacturer-approved windscreens and configurations. Improperly enclosing a stove or fuel canister can cause overheating.
Choose Foods That Require Less Cooking
Canned beans, instant cereals, precooked grains, and ready-to-eat foods can reduce fuel needs substantially.
Insulate After Heating
When using a suitable tested recipe, transfer the covered pot into a thermal cooker rather than continuing to simmer over an active flame.
8. Food Safety: The Most Important Rule
Retained-heat cooking offers real advantages, but food safety must come first.
The temperature danger zone for food is generally between 40°F and 140°F.
Bacteria can multiply when perishable foods remain in this range.
A thermal cooker gradually loses heat. Depending on its design and contents, food may eventually cool into the danger zone.
Therefore, do not assume that food remaining warm inside an insulated cooker is safe to eat hours later.
For perishable foods, verify safe final cooking temperatures and keep hot-held food at 140°F or above.
If food is not being served promptly, refrigerate it safely rather than allowing it to cool slowly inside an insulated container.
The general USDA limit for perishable food left at unsafe temperatures is two hours, reduced to one hour when the surrounding temperature exceeds 90°F.
A Special Warning About Rice
Cooked rice can contain surviving spores of Bacillus cereus.
When cooked rice remains at unsafe temperatures, these spores can germinate and bacteria may multiply.
Some strains produce heat-stable toxins that ordinary reheating cannot reliably destroy.
This makes rice particularly important when using thermal cookers.
Use a tested cooking method, serve rice promptly after cooking, and refrigerate leftovers quickly.
Do not leave cooked rice in a slowly cooling thermal cooker overnight.
Related article: The Hidden Danger of Cooked Rice: What Every Family Should Know.
9. Test Your Equipment Before an Emergency
Don't wait until the power goes out to discover whether your thermos or insulated cooker works properly.
Conduct a simple experiment.
Heat a measured quantity of water, place it in your insulated cooking system, and record the temperature at regular intervals.
Try the experiment with different amounts of water.
A nearly full insulated container may retain heat much longer than one containing only a small quantity.
Then test suitable food recipes using a thermometer to confirm safe cooking temperatures.
Record how much fuel you use.
Over time, you'll develop a practical emergency cooking plan based on your actual equipment rather than estimates.
10. Build a Fuel-Efficient Emergency Kitchen
A well-equipped emergency kitchen doesn't necessarily require expensive equipment.
Consider keeping the following supplies together:
- A reliable outdoor-rated emergency cooking stove
- A properly stored supply of compatible fuel
- A medium-size stainless steel cooking pot with a tight-fitting lid
- A quality wide-mouth vacuum-insulated food jar
- A commercial thermal cooker or safely constructed DIY retained-heat cooker
- A digital food thermometer
- Measuring cups and utensils
- A manual can opener
- Clean water and water-treatment supplies
- Ready-to-eat and low-fuel foods
- Printed emergency cooking instructions
Remember that propane, charcoal, and other combustion-based stoves can produce carbon monoxide.
Never operate camping stoves, charcoal burners, or outdoor cooking appliances inside a home, garage, tent, or other enclosed space unless the appliance is specifically approved for that use.
Final Thoughts: Make Every Minute of Fuel Count
Emergency preparedness is about learning to use limited resources wisely.
A family with a month's supply of food but only a few days of cooking fuel may face serious difficulties.
Retained-heat cooking helps address that problem.
By learning to use insulated containers, commercial thermal cookers, properly designed hayboxes, and foods that require little or no heating, you can make your emergency fuel supply last considerably longer.
But don't wait until disaster strikes.
Experiment with these methods now, while you have electricity, running water, and a fully equipped kitchen.
Discover which foods work best, how long they take, and how much fuel you actually save.
The less fuel you need to cook your food, the longer your emergency supplies can support your family.
And that is a valuable preparedness skill.
When you're ready to practice, start with the recipes in 7 Practical Ways to Cook Emergency Meals Using Very Little Fuel. And if you want to know how much food and fuel your family actually needs, try my free Food Storage Calculator and Family Emergency Planner. Neither one needs an account or saves any of your information. To compare how long your propane lasts with regular cooking versus thermal cooking, try the free Emergency Cooking Fuel Calculator.
A Closing Thought
The Bible tells the story of a widow in Zarephath who had only a handful of meal and a little oil left, and how the Lord stretched what she had so that "the barrel of meal wasted not, neither did the cruse of oil fail" (1 Kings 17:16). I think about that story whenever I look at a small propane bottle and wonder how long it will last.
I don't expect miracles to replace good planning. But I do believe that when we're careful with what we've been given and do our part, God helps make up the difference. Learning to stretch a little fuel a long way is a practical skill, and it's also a kind of stewardship. It teaches gratitude for small things, and it reminds me that real security never came from the size of my supply in the first place.
References
- U.S. Environmental Protection Agency — Guide to Designing Retained Heat Cookers: https://nepis.epa.gov/Exe/ZyPURL.cgi?Dockey=60000I1U.TXT
- Peace Corps — Improved Cookstoves Handbook: https://files.peacecorps.gov/documents/M0091_ANNEX_Cookstoves_TP_ICS_1_Improved-Cookstoves-Handbook.pdf
- Saratoga Jacks — Thermal Cooker Instructions: https://saratogajackscdn.s3.amazonaws.com/manage/wp-content/uploads/2011/11/THE-NEW-BASIC-INNER-FLIER-FOR-ALL-THERMAL-COOKER-BOXES.pdf
- USDA — Leftovers and Food Safety: https://www.fsis.usda.gov/food-safety/safe-food-handling-and-preparation/food-safety-basics/leftovers-and-food-safety
- FDA — Bad Bug Book: https://www.fda.gov/food/foodborne-pathogens/bad-bug-book-second-edition
Related articles
Long-Term Food Tips
7 Practical Ways to Cook Emergency Meals Using Very Little Fuel
Thermos oatmeal, covered-pot couscous, thermal cooker rice and no-cook meals: seven simple ways to feed your family on very little fuel.
Read “7 Practical Ways to Cook Emergency Meals Using Very Little Fuel”Fuel, Heat, Cooking & Light
Cooking Off-Grid: Rocket Stoves, Camp Stoves, and Stovetop Ovens
Food storage doesn't do you much good if you can't cook it. Here's how I think about boiling, frying, and baking when the power is out.
Read “Cooking Off-Grid: Rocket Stoves, Camp Stoves, and Stovetop Ovens”Long-Term Food Tips
The Hidden Danger of Cooked Rice: What Every Family Should Know
Rice can last decades in storage, but cooked rice can turn dangerous fast. Here's how to keep your family safe, especially when the power is out.
Read “The Hidden Danger of Cooked Rice: What Every Family Should Know”