
Disaster Guide
Thermal Cooking: How to Cook Meals for Hours Using Almost No Additional Fuel
One of the smartest ways to conserve precious cooking fuel during a power outage or long-term emergency.
Some links on this page are affiliate links. If you buy through them, I may earn a small commission at no extra cost to you. As an Amazon Associate I earn from qualifying purchases. Read my full affiliate disclosure.
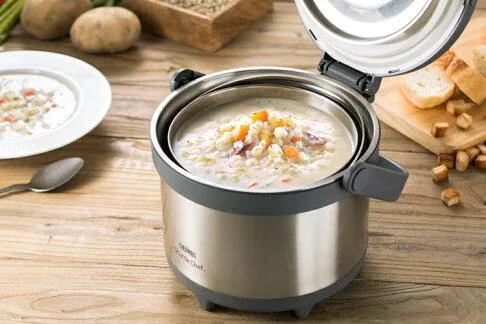
Imagine being able to prepare a hot meal for your family, bring it to a boil, turn off the stove, and allow it to continue cooking for several hours without using another drop of fuel.
No electricity. No continuous flame. No need to stand over the stove.
That's the remarkable advantage of thermal cooking, sometimes called retained-heat cooking.
During an extended power outage, natural disaster, or other emergency, cooking fuel can become one of your most valuable resources. You might have months of rice, beans, wheat, oatmeal, and other food stored away, but what happens when you begin running out of propane, butane, charcoal, or firewood?
This is a problem that many people don't fully appreciate until they're facing it.
Thermal cooking offers a practical solution. By using highly insulated containers to retain heat, you can continue cooking many foods for hours after removing them from the heat source.
And because the cooking process doesn't require a continuously burning flame, you may be able to prepare several meals using the amount of fuel normally required for just one.
What Is Thermal Cooking?
Thermal cooking is a cooking method that uses stored heat rather than continuous external heat.
The idea is remarkably simple.
You place your food and liquid into a cooking pot, bring everything to the appropriate cooking temperature, and then transfer the hot pot into a heavily insulated container.
The insulation slows the escape of heat, allowing the food to continue cooking.
Think of it as a slow cooker that doesn't need to be plugged into an electrical outlet.
Thermal cooking isn't new. For centuries, people have used insulated boxes, blankets, straw, and even underground cooking pits to conserve heat.
In the early 1900s, a similar technique was commonly called haybox cooking. Families would bring a pot of food to a boil and then place it inside an insulated box filled with hay or other materials.
Modern thermal cookers use the same basic principle, but many are considerably more efficient because they incorporate vacuum-insulated stainless steel containers.
Why Thermal Cooking Matters During an Emergency
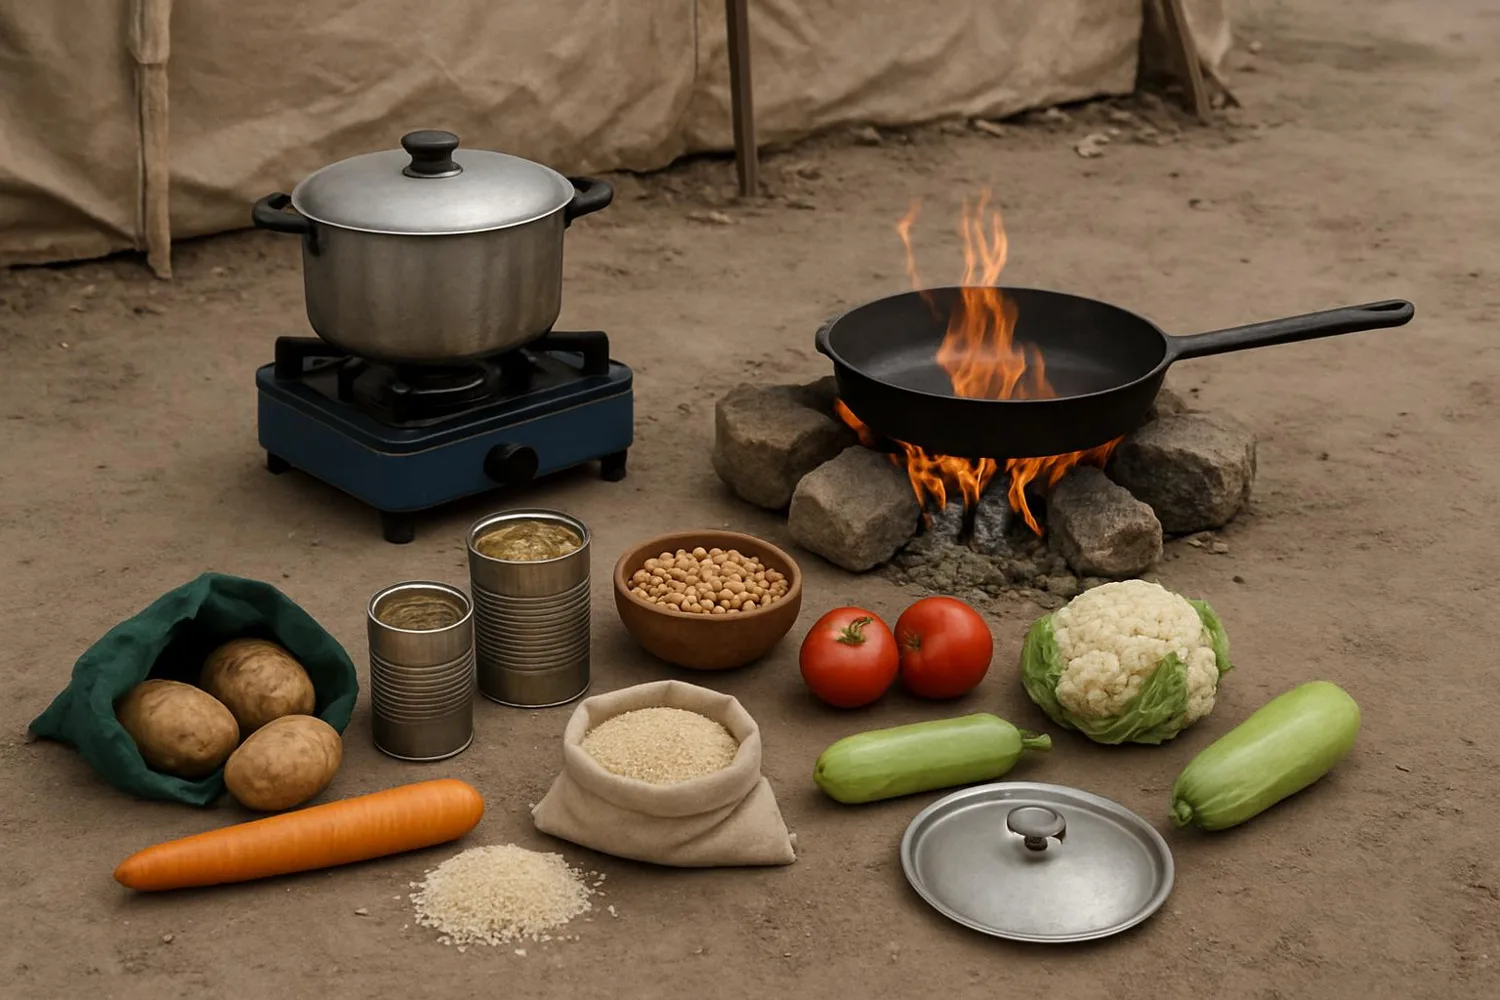
Most people who practice emergency preparedness focus heavily on food and water storage. And that's understandable. Those are essential.
But there's another question that deserves just as much attention:
How much cooking fuel have you stored, and how long will it actually last?
Consider a family that has accumulated several months of dried beans, rice, wheat, and other foods. That's a tremendous accomplishment.
But dried beans can require an hour or more of simmering, sometimes considerably longer. Even ordinary rice typically requires 15–20 minutes of covered cooking after the water reaches a boil.
Multiply those cooking times by three meals a day, seven days a week, and several months.
The amount of fuel required can become substantial.
And during a widespread emergency, replenishing propane, butane, or other cooking fuels may be difficult or impossible.
Thermal cooking helps solve this problem by concentrating fuel consumption into a relatively short initial heating period.
Instead of keeping a burner running throughout the cooking process, you heat the food, place it in the thermal cooker, and allow the retained heat to do the rest.
An example of potential fuel savings
Suppose a meal normally requires 15 minutes to reach a boil followed by 45 minutes of simmering.
With an appropriate thermal cooker, the food might require 15 minutes of initial heating and another 5–10 minutes of boiling before being transferred to the insulated container.
| Illustrative burner time for one meal | Minutes |
|---|---|
| Conventional cooking | 60 min |
| Thermal cooking | 20–25 min |
This example represents approximately 58–67% less burner time, not a measured fuel-consumption test. Actual savings depend on the stove, recipe, batch size, and cooker.
That difference becomes especially important when you're preparing meals every day during a prolonged emergency.
How to Use a Thermal Cooker
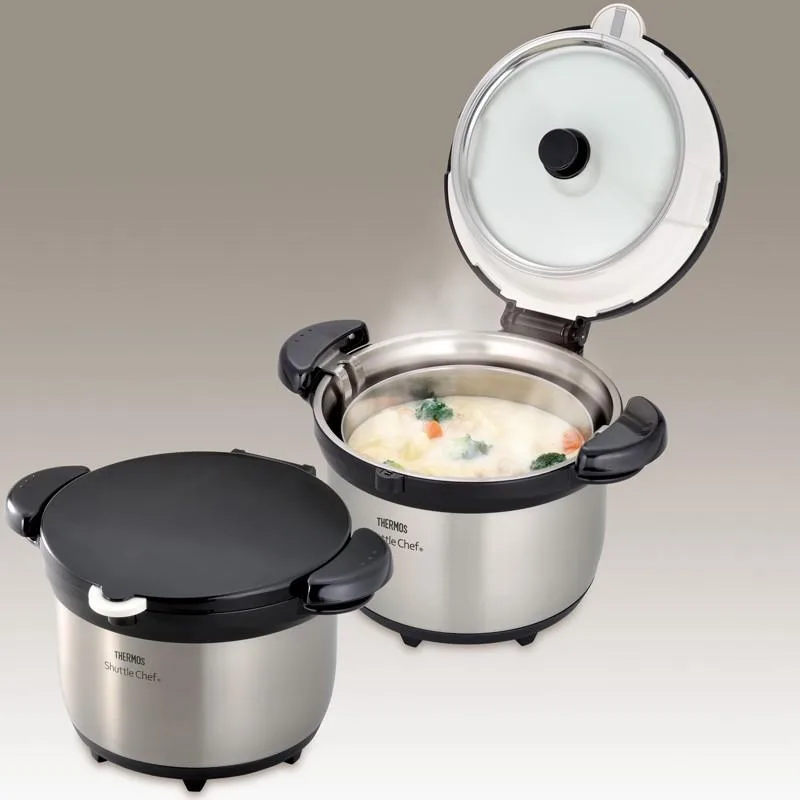
Using a thermal cooker is relatively straightforward, although exact instructions vary by manufacturer and recipe.
- Prepare your ingredients. Add rice, soup, vegetables, or other ingredients to the cooking pot along with the required liquid.
- Heat the food thoroughly. Bring the entire mixture to a vigorous boil or the temperature specified by your recipe. Stir thick foods to distribute heat evenly. Some recipes require several minutes of boiling before transfer.
- Transfer immediately. Place the covered inner pot inside the insulated outer container and close the lid securely. For a food jar, preheat the jar with boiling water, empty it, and immediately add the fully heated food.
- Allow the retained heat to work. Depending on the recipe, food may continue softening and cooking for 30 minutes to several hours. Some recipes call for four to eight hours in the cooker, but this does not mean every food can safely remain there that long.
- Check the temperature and doneness. Use a food thermometer. If the food has not finished cooking, return it to the stove and finish cooking it thoroughly.
The important thing to understand is that thermal cooking is not identical to cooking over a continuous flame.
The temperature gradually decreases as the food sits inside the insulated container. Some foods cook beautifully this way, while others require additional heating.
The Best Foods for Thermal Cooking
Not every food is equally suited to thermal cooking. For emergency preparedness, I recommend beginning with foods that are easy to prepare and don't require complicated cooking procedures.
| Food | Thermal cooking considerations |
|---|---|
| White rice | Good candidate for a tested thermal recipe; often finishes relatively quickly |
| Rolled oats | Excellent for insulated food jars; can soften with hot water |
| Soups and stews | Particularly suitable when thoroughly heated before transfer |
| Lentils | Often work well, especially after soaking |
| Pasta | Can finish in retained heat, but may become soft |
| Vegetables | Good for soups and mixed dishes |
| Dried beans | Require special precautions and sometimes additional boiling |
| Meat and poultry | Use only validated methods and check safe internal temperatures |
A special warning about dried beans
Dried beans are among the most valuable foods to store, but they're also among the easiest to prepare incorrectly.
Raw or undercooked kidney beans contain phytohaemagglutinin, a naturally occurring lectin that can cause serious gastrointestinal illness.
Kidney beans should be soaked and then boiled vigorously in fresh water for at least 30 minutes before any retained-heat finishing method is considered. They must be cooked until completely tender.
Do not rely on a thermal cooker alone to make raw kidney beans safe. A sustained, vigorous boil is necessary.
For emergency cooking, canned beans, properly precooked beans, or lentils can be easier and more fuel-efficient choices.
Choosing the Right Thermal Cooker
There are several different types of thermal cookers, and each has advantages.
For emergency preparedness, I particularly like vacuum-insulated stainless steel containers because they retain heat without requiring electricity, bulky insulation, or complicated equipment.
Here are several options worth considering.
1. Three-liter thermal cooker — a practical family option
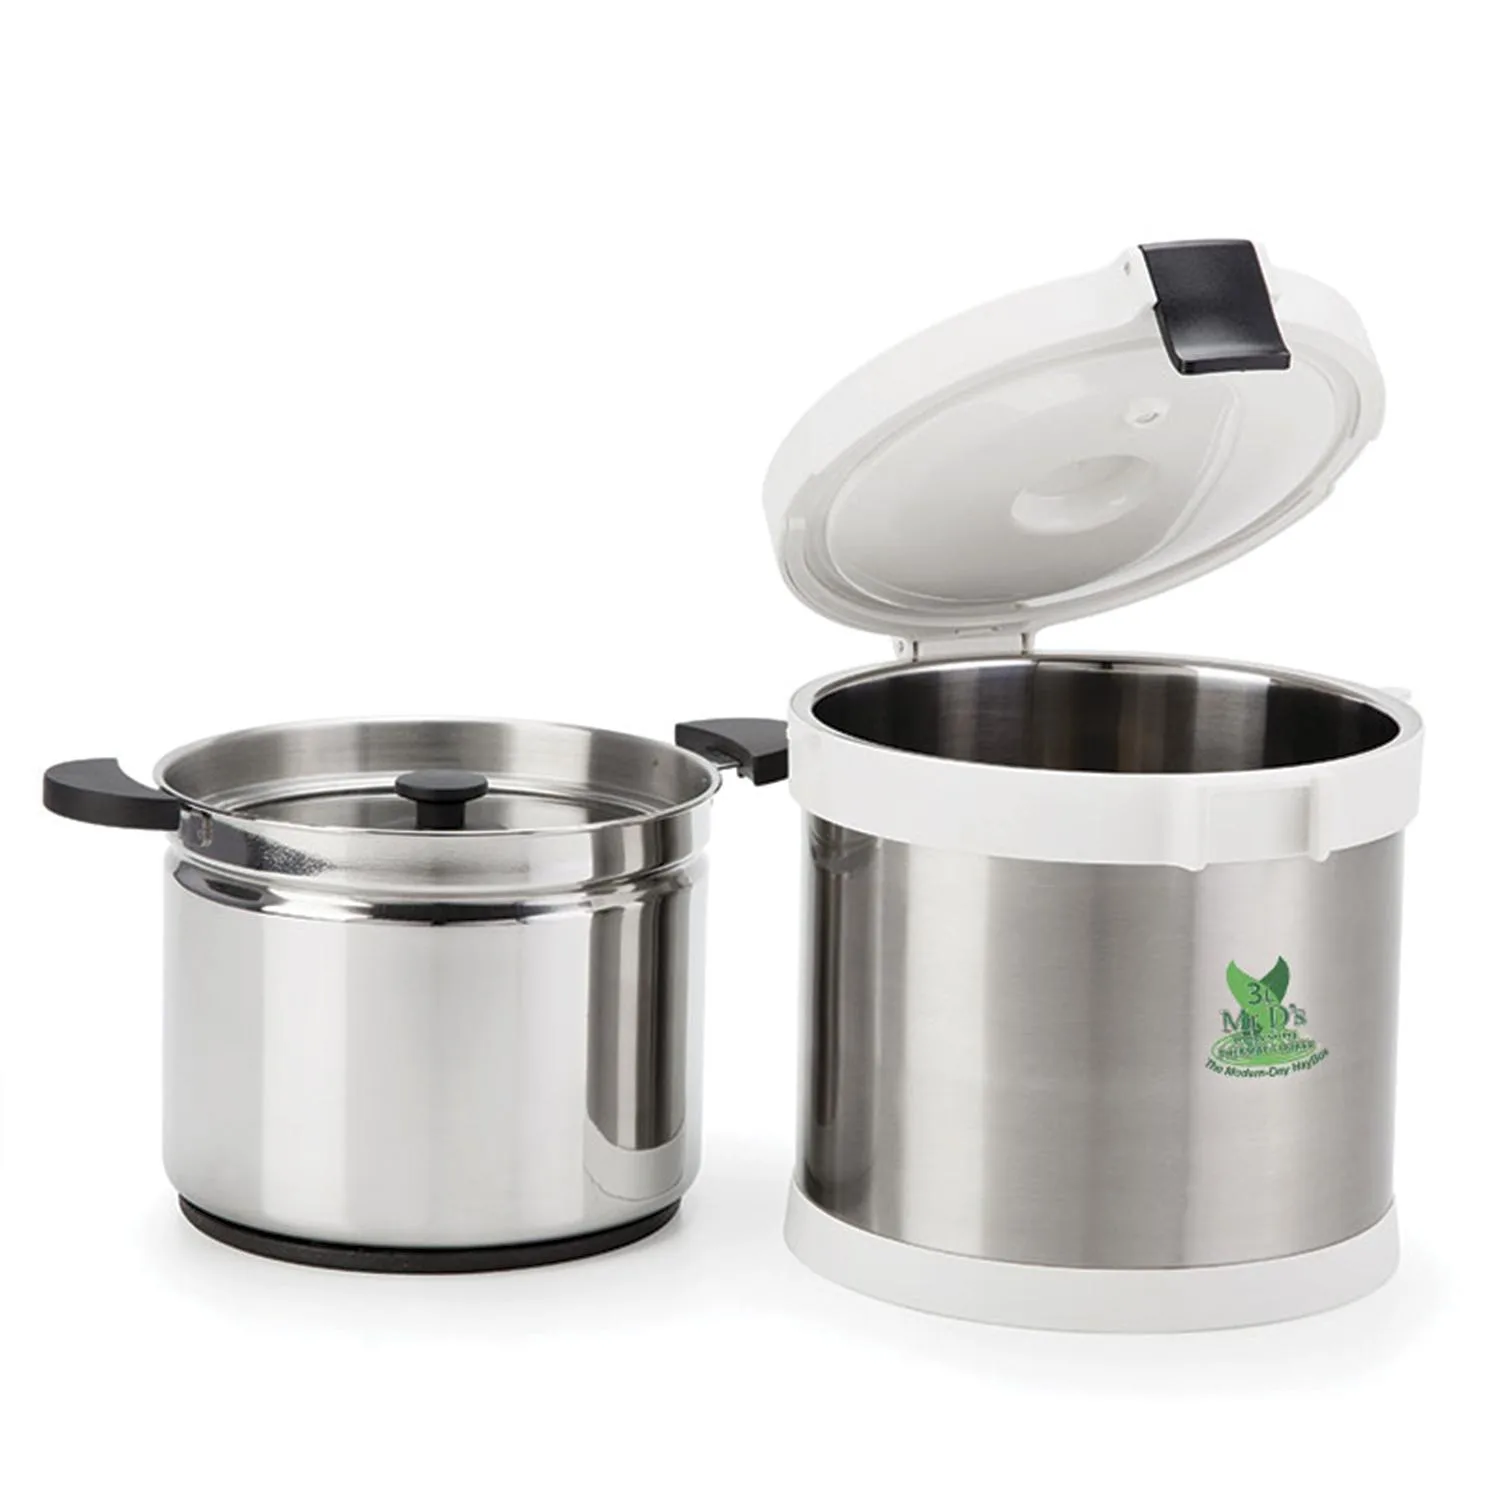
A three-liter thermal cooker can be a useful size for couples or smaller families.
It can accommodate soups, rice dishes, oatmeal, and other meals that benefit from retained-heat cooking.
Its relatively compact size also makes it easier to store with emergency supplies.
View the 3-liter thermal cooker on Amazon
2. Six-liter thermal cooker — better for larger families
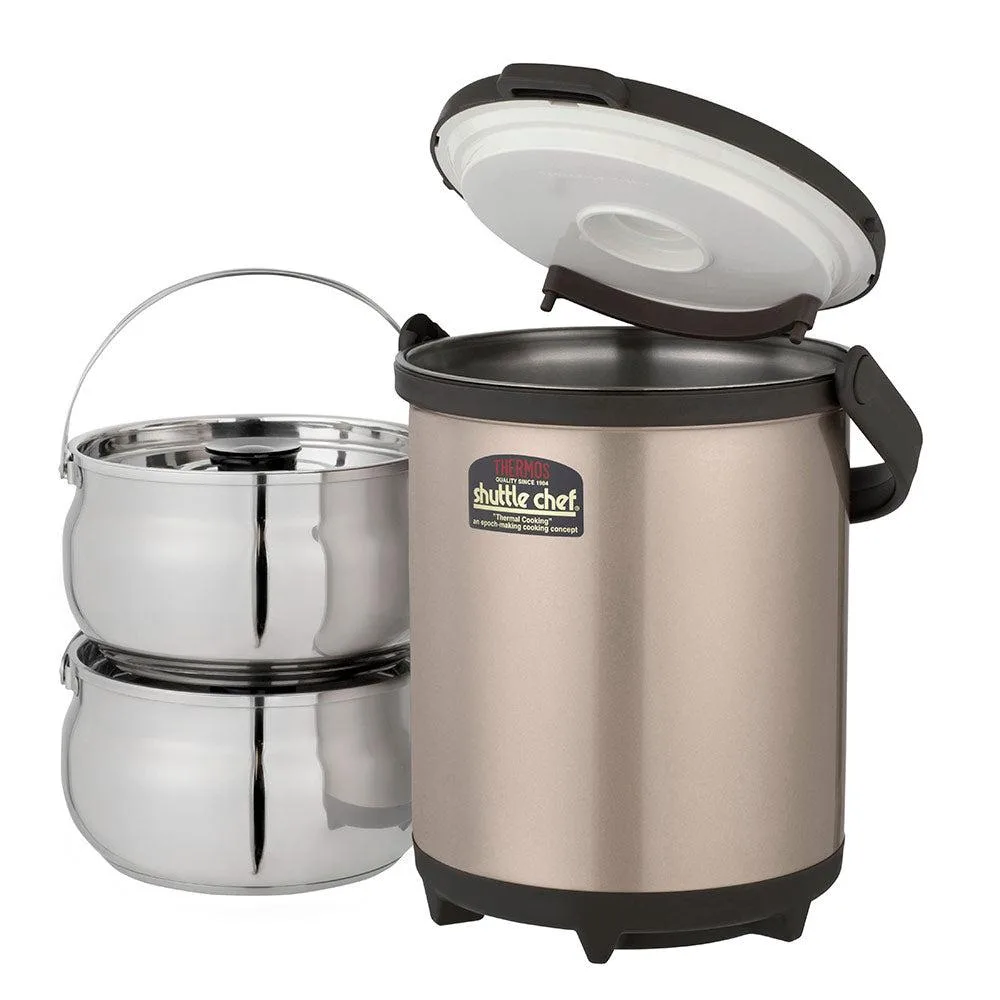
For larger families, a six-liter thermal cooker may be a better choice.
It allows you to prepare larger quantities of soup, stew, beans, or other foods at one time.
One advantage of cooking larger batches is that the greater mass of hot food can help retain heat longer, provided the cooker is properly filled and insulated.
View the 6-liter thermal cooker on Amazon
3. THERMOS Stainless King food jars — my preferred personal option
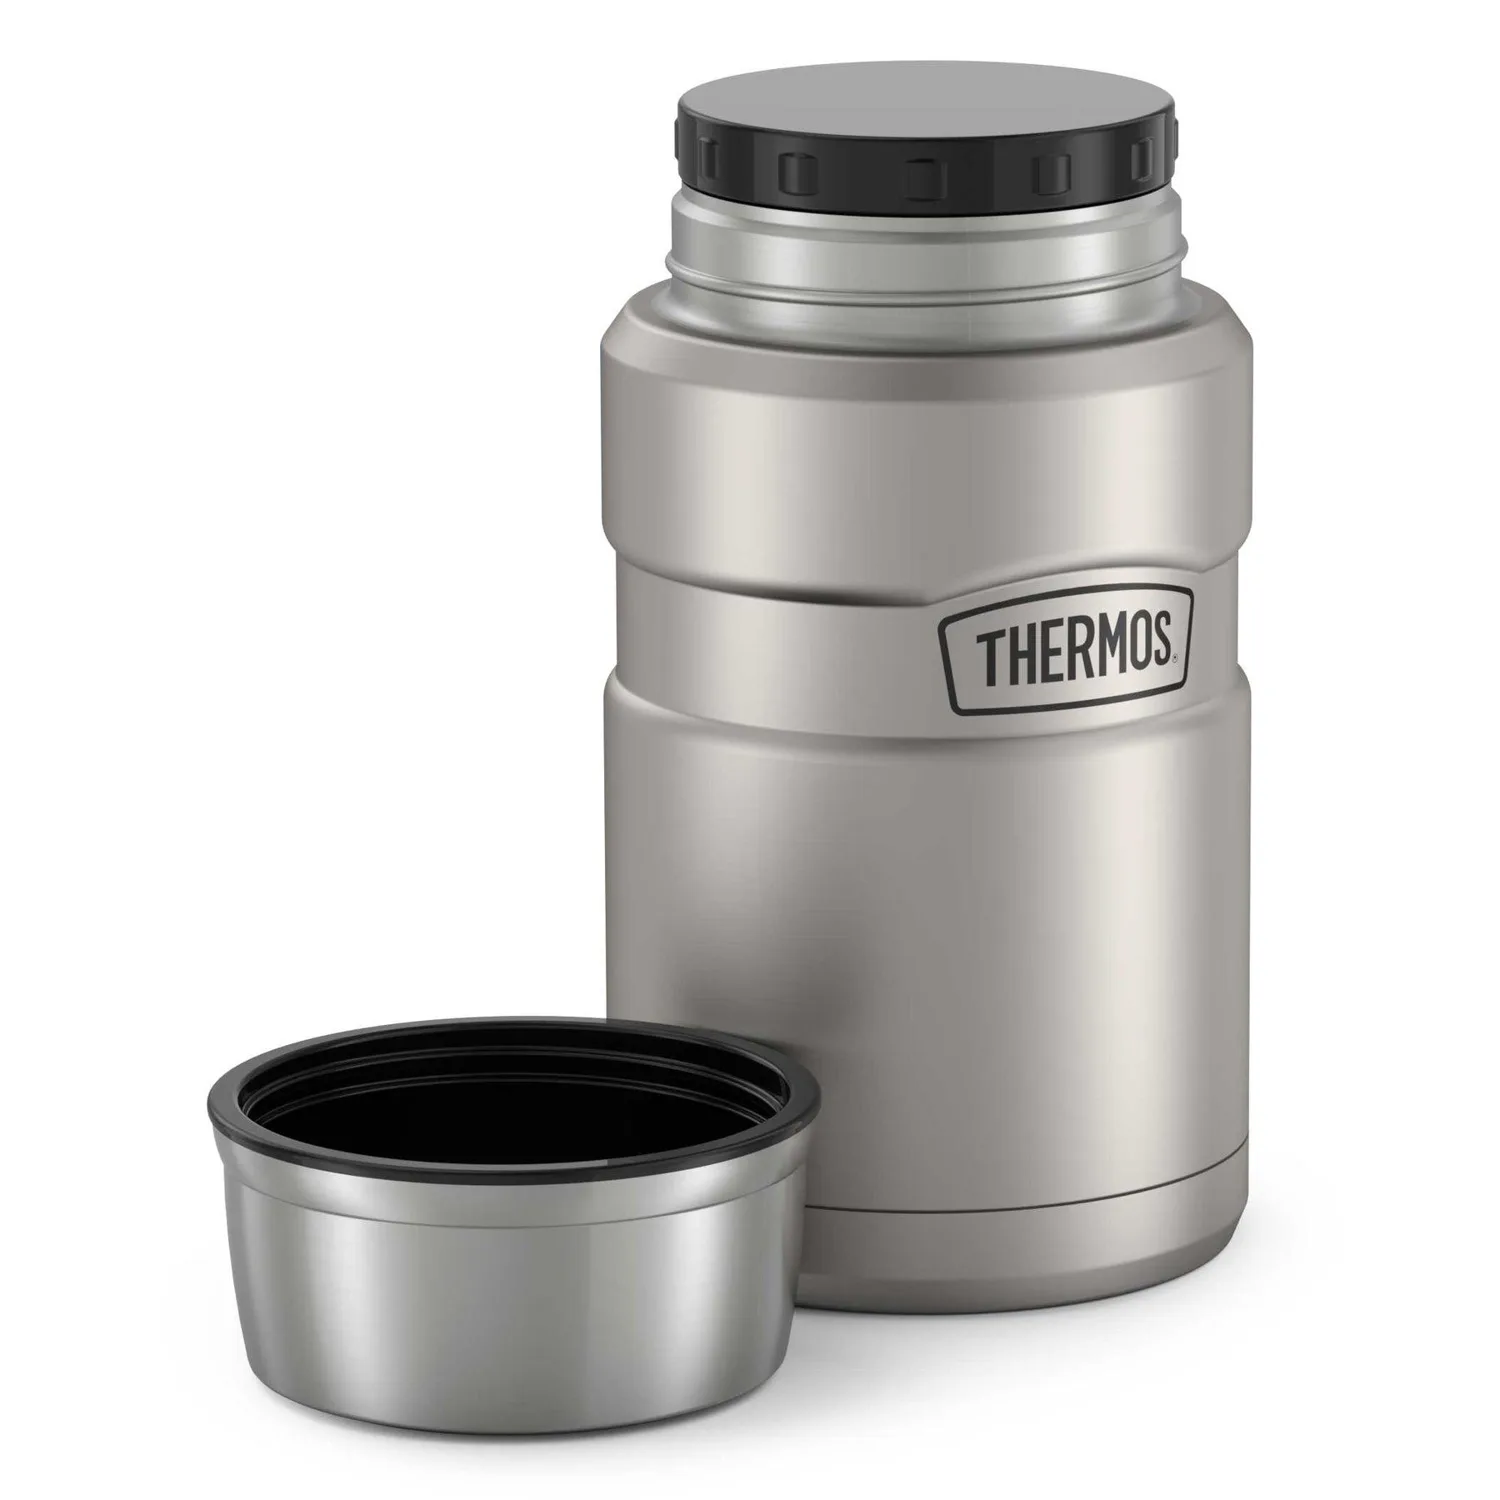
For individual meals, one of my favorite approaches is to use a high-quality, vacuum-insulated food jar.
The THERMOS Stainless King line is especially appealing because of its sturdy construction and effective vacuum insulation.
These containers are designed to keep food hot for extended periods without electricity or an external heat source.
The 24-ounce size is large enough for a substantial serving of soup, oatmeal, rice, or another prepared meal.
According to the product information, features include:
- Vacuum insulation designed to retain heat for up to 14 hours under specified conditions.
- Durable 18/8 stainless steel construction.
- A leak-resistant lid that doubles as a serving bowl.
- An exterior that stays relatively cool when filled with hot food.
- Dishwasher-safe construction, with top-rack cleaning recommended.
The Stainless King line also includes smaller and larger capacities, including approximately 16-ounce and 47–48-ounce versions.
View the 24-ounce THERMOS Stainless King on Amazon
An important distinction: the manufacturer's heat-retention rating does not mean food remains at a safe serving temperature for the entire advertised period. It also does not establish that raw ingredients will cook safely inside the jar.
For emergency preparedness, these jars are especially useful for keeping already-cooked food hot and for preparing simple foods such as instant oatmeal or other foods specifically suitable for hot-water rehydration.
Why I like the idea of one food jar per person
Consider a family of five, with each person having a 24-ounce insulated food jar.
That provides a combined capacity of:
| Five 24-ounce jars | Combined capacity |
|---|---|
| 120 oz | Nearly one gallon of combined food capacity (3.55 liters) |
You could prepare a large pot of soup, oatmeal, or another meal, divide it among the jars, and close them immediately.
Each family member would have an individual insulated container, reducing the need to repeatedly open a larger cooker.
The jars can also be used for camping, road trips, school lunches, or ordinary everyday meals.
This makes them useful equipment rather than something that sits unused until an emergency.
Can You Make Your Own Thermal Cooker?
Absolutely.
You don't necessarily need to purchase an expensive stainless steel thermal cooker to benefit from retained-heat cooking.
The same basic principle can be used with materials you may already have around the house. My DIY insulated cooker guide walks through building one step by step.
Option 1: An insulated cooking bag
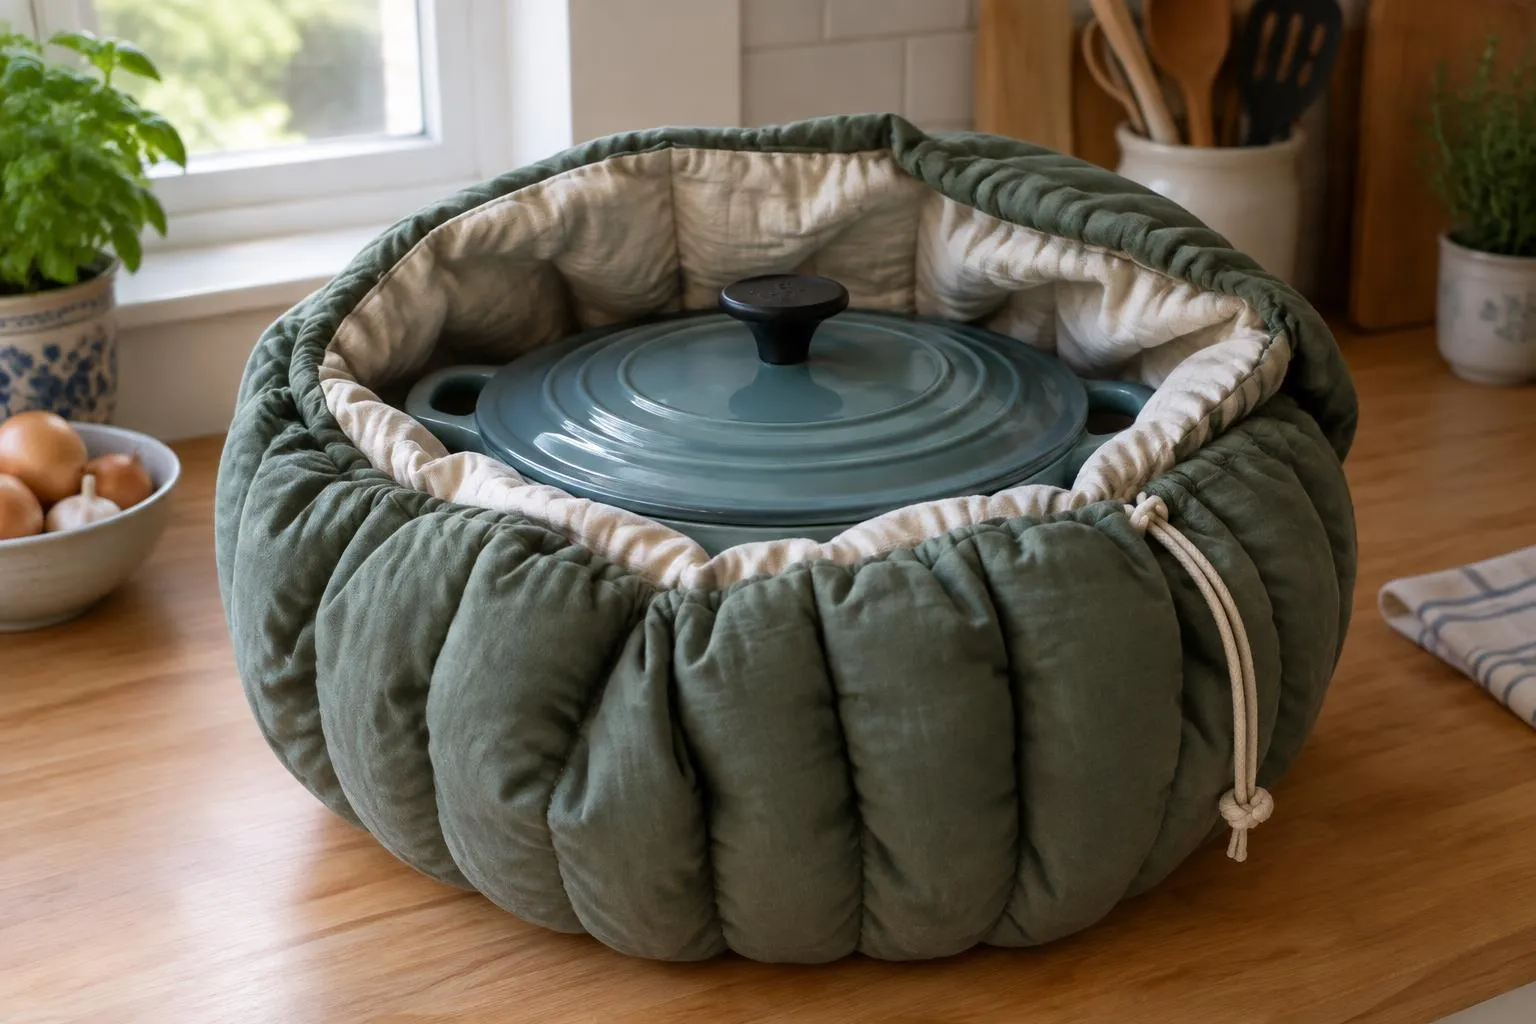
Fabric thermal cookers, sometimes called Wonder Ovens or Wonderbags, are designed to surround a hot cooking pot with thick insulation.
After heating the food, the covered pot is placed inside the insulated bag, which is then closed around it.
The insulation slows heat loss, allowing the contents to continue cooking.
These are particularly attractive for emergency preparedness because they don't require electricity and can be stored away when not needed.
Option 2: An insulated slow-cooker carrying bag
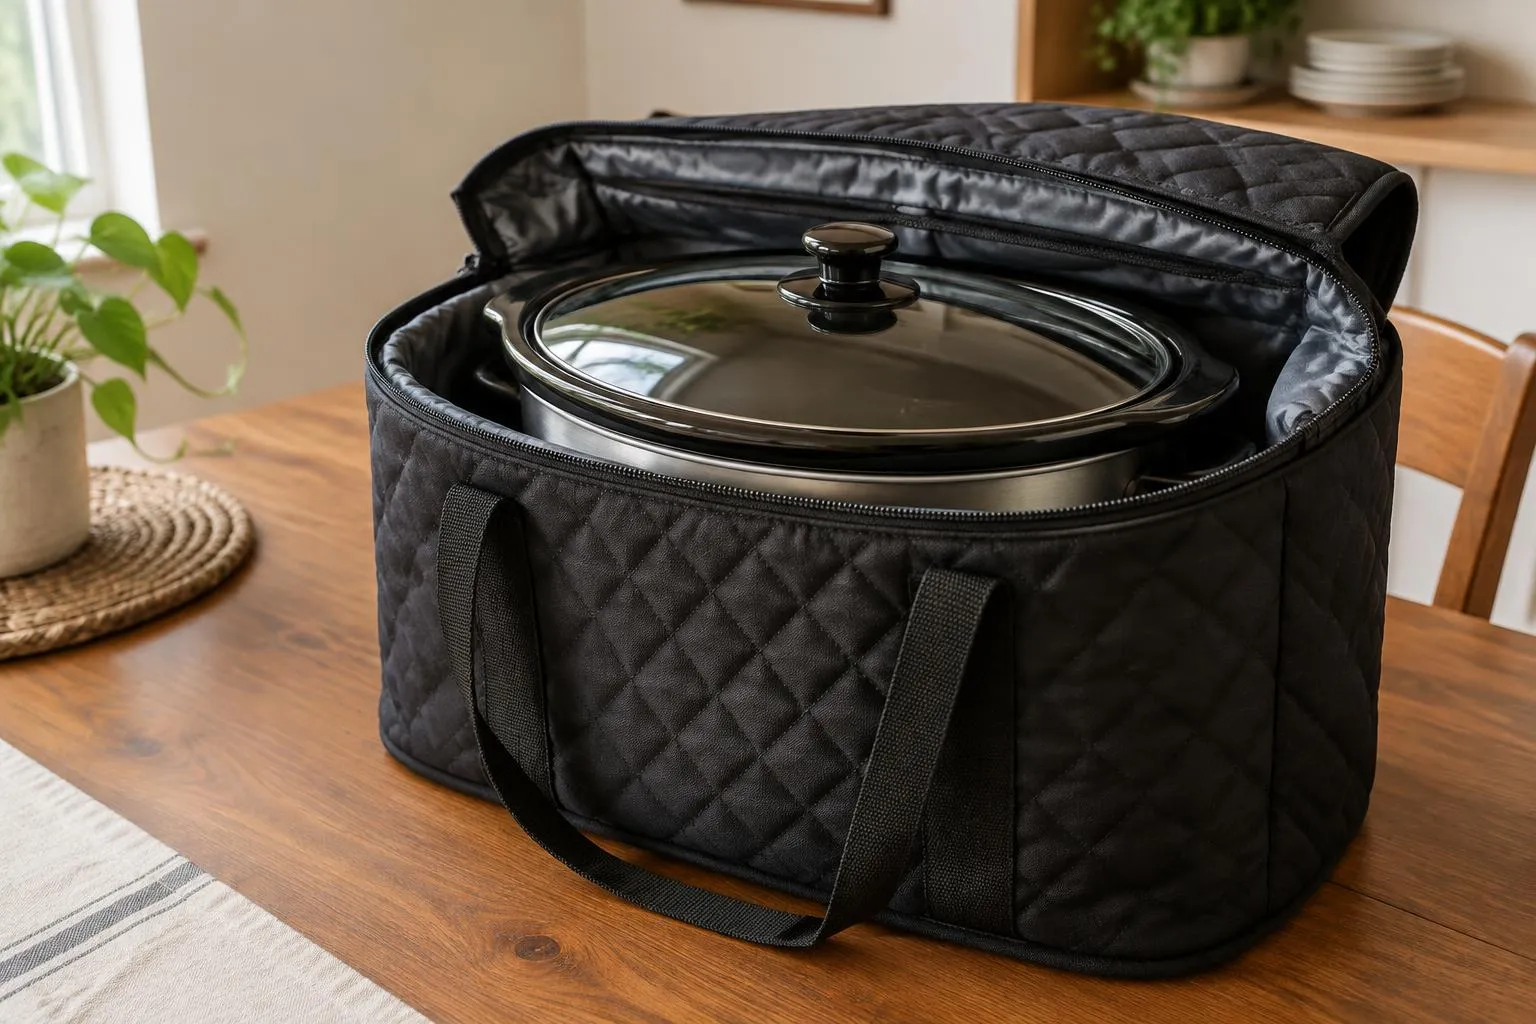
Another possibility is using a heavily insulated carrying bag designed for slow cookers.
These bags are normally marketed for transporting food to picnics, family gatherings, or church activities.
Many have quilted insulation, reinforced handles, zippers, and room for a six- to eight-quart cooking vessel.
For example, this insulated carrying bag is designed for transporting large slow cookers.
View the insulated slow-cooker carrying bag on Amazon
However, there's an important limitation.
A carrying bag designed to transport a warm slow cooker is not necessarily designed to function as a thermal cooking appliance. Its heat retention, resistance to hot cookware, and food-safety performance may not have been tested for that purpose.
If you experiment with one, use a separate, suitable heat-resistant liner and follow the bag manufacturer's temperature limits. Never put cookware directly from a flame into a bag unless the bag is specifically rated for that use.
Option 3: A cooler with additional insulation
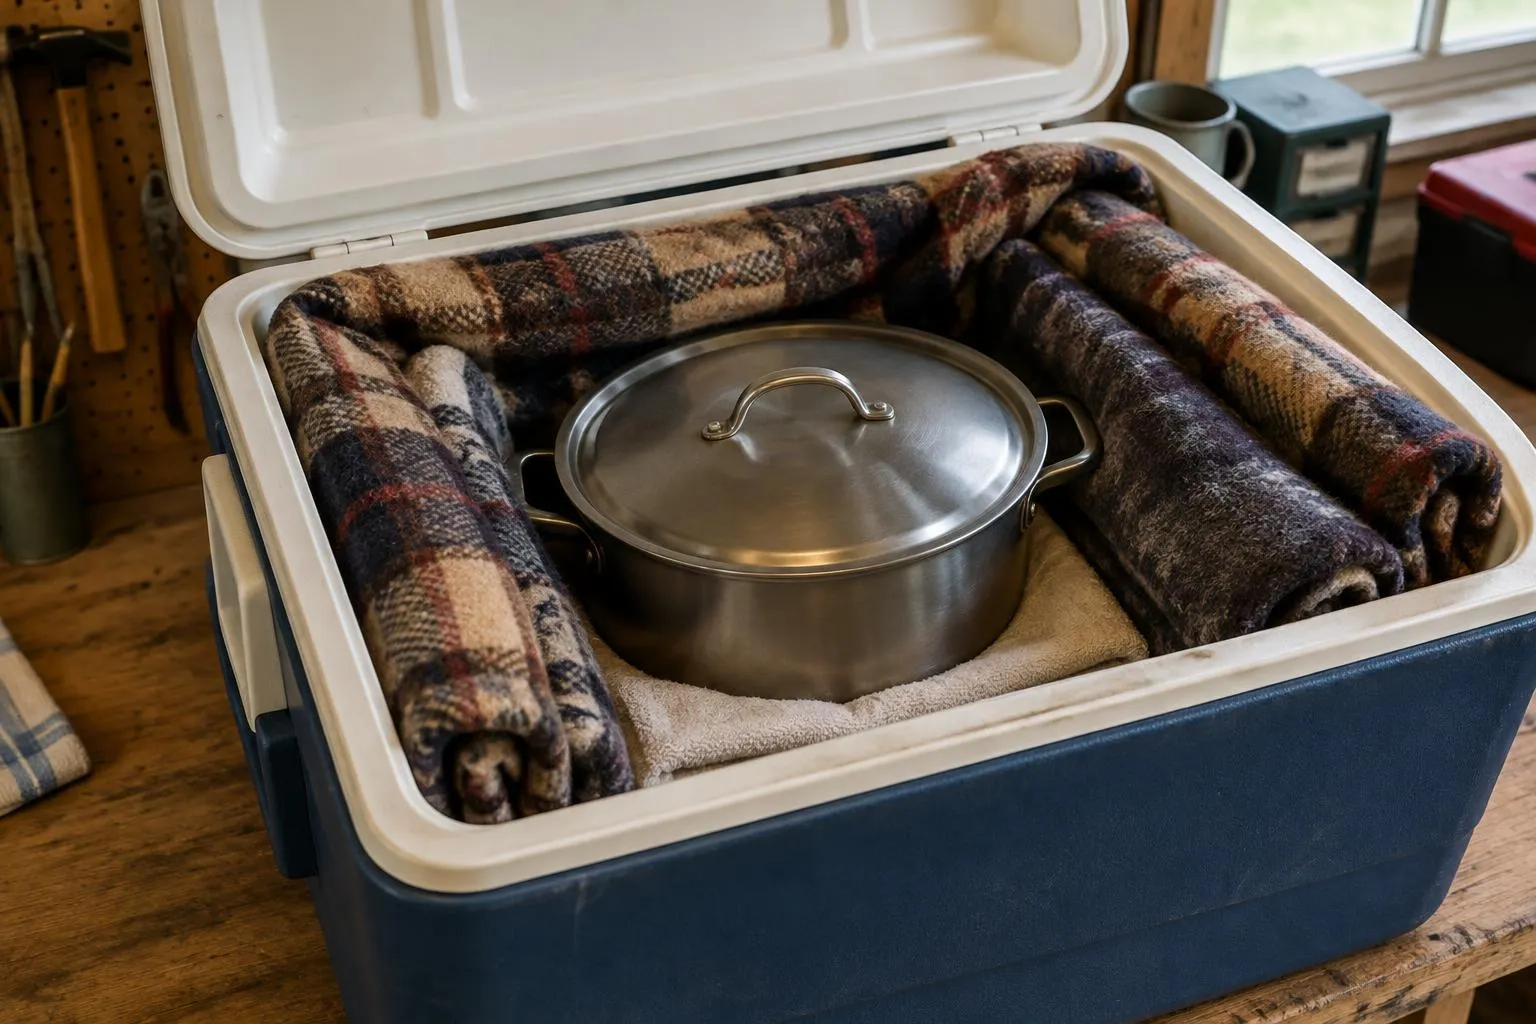
A well-insulated cooler can also be adapted for retained-heat cooking.
The basic idea is to place a covered, heated pot inside the cooler and surround it with insulating material to slow heat loss.
Blankets, towels, or specially designed thermal insulation may help reduce the amount of heat escaping.
However, ordinary plastic coolers are not necessarily rated for contact with near-boiling cookware. Direct heat can deform plastic or damage the cooler.
Use only materials rated for the temperatures involved, keep hot cookware away from vulnerable plastic surfaces, and test the setup with a thermometer before relying on it for actual cooking.
For emergency use, a purpose-built thermal cooker is a more predictable option.
How Long Will Food Stay Hot?
This is one of the most important questions to ask when choosing a thermal cooker.
The answer depends on several factors:
- How hot the food is when placed in the cooker.
- How much food is inside.
- The quality and thickness of the insulation.
- The temperature of the surrounding environment.
- How frequently the container is opened.
- The type of food being prepared.
A larger, nearly full cooker will generally retain heat longer than a small, partially filled container.
Vacuum insulation can be particularly effective because it reduces heat transfer through conduction and convection.
Some thermal cooking guides suggest that insulated cooking vessels may lose only four or five degrees per hour. But that is not a universal rule, and different containers can perform very differently.
Never assume that food remains safe for eight hours simply because the container is well insulated or 75% full.
For perishable foods, the key is whether they remain at safe temperatures, not whether the container still feels warm.
Food Safety: The Most Important Rule
Know the temperature, not just the cooking time
The USDA recommends keeping hot food at 140°F (60°C) or above during hot holding. Bacteria can multiply rapidly when perishable foods spend too much time between 40°F and 140°F.
A thermal cooker gradually loses heat, and the food may eventually enter that temperature range.
A practical approach is to use a food thermometer to verify that your food has been fully cooked and remains safely hot. If perishable food has been below 140°F for more than two hours, discard it rather than assuming reheating will make it safe.
For meat and poultry, always verify the appropriate safe internal cooking temperature. For example, poultry must reach 165°F (74°C).
Rice also deserves particular attention because improperly cooled or held rice can support the growth of Bacillus cereus, which can produce toxins that reheating may not destroy. My rice safety article explains this in more detail.
For that reason, I recommend testing your thermal cooker at home under normal conditions before relying on it during an emergency.
An Easy Experiment You Can Try at Home
You don't need to wait for a disaster to discover how well thermal cooking works.
In fact, I strongly recommend experimenting now, while you still have electricity, plenty of fuel, and access to a kitchen.
Here's a simple way to begin.
Thermal cooker heat-retention test
- Preheat your insulated container according to its instructions.
- Fill it with hot water at a measured temperature, leaving the recommended headspace.
- Close it securely and record the starting temperature.
- Measure the water temperature after 1, 2, 4, and 6 hours using a thermometer.
- Record the results and repeat with different fill levels.
This water-only experiment will give you a much better understanding of your particular cooker's insulation performance without risking a meal.
Remember that water cools differently from thick foods, and a water test does not establish safe cooking times for meat, beans, or other ingredients.
Once you've become familiar with the cooker, try a manufacturer-tested recipe and measure the finished food temperature.
Thermal Cooking Is Only One Part of an Emergency Cooking Plan
Thermal cooking is valuable, but it shouldn't be your only method of preparing food.
A well-prepared household should consider having several ways to heat food and water.
A propane camping stove, butane stove, outdoor wood-burning stove, solar cooker, or other appropriate emergency cooking equipment can provide the initial heat needed for thermal cooking.
Some of these methods depend on weather conditions, while others require stored fuel.
For example, a solar cooker may be useful during sunny weather, while a propane stove can work during cloudy or snowy conditions.
The real advantage comes from combining these methods.
You might use a propane stove to heat a meal, transfer it to a thermal cooker, and then save the remaining fuel for another meal.
Over several weeks, the savings can become significant.
Always use combustion-powered stoves outdoors unless the appliance is specifically approved for indoor use. Never use charcoal grills, camp stoves, or outdoor propane burners inside a home, garage, or tent because of the danger of carbon monoxide poisoning.
My Recommendation: Start Small, Then Expand
If you're just getting started with emergency preparedness, you don't need to purchase an entire collection of expensive cooking equipment.
A good vacuum-insulated food jar is an excellent starting point.
You can use it for oatmeal, soups, and other prepared foods during ordinary daily activities, and it can become an important part of your emergency cooking supplies.
For larger families, consider adding a three- or six-liter thermal cooker designed specifically for retained-heat cooking.
And if you're handy with sewing or already own suitable insulated equipment, you may be able to create a retained-heat cooking system yourself.
The important thing is to learn how the equipment works and practice using it before an emergency.
The Bottom Line: Save Your Fuel Before You Need It
One of the biggest lessons of emergency preparedness is that resources disappear faster than we expect.
Water gets consumed. Batteries run down. Food supplies gradually shrink. And cooking fuel can become extremely difficult to replace.
That's why conserving fuel is just as important as storing it.
Thermal cooking won't eliminate the need for fuel, but it can dramatically reduce the amount you use for many meals.
When you're preparing food for your family during an extended emergency, that difference could mean having hot meals for weeks longer than you otherwise would.
Store the food. Store the fuel. But most importantly, learn how to make both last longer.
A closing thought
A thermal cooker works because it holds on to what has already been put into it. I think faith works much the same way. The quiet daily habits of prayer, scripture study and kindness are the heat we put in now, while things are calm, so that something steady remains when the hard days come. As the Lord said, "Lay not up for yourselves treasures upon earth… but lay up for yourselves treasures in heaven" (Matthew 6:19–20). Store the fuel, and store the faith too.
Official sources
Everything in this guide follows the food-safety guidance below. When in doubt, check these:
- FoodSafety.gov: Four Steps to Food Safety — Safe cooking, hot holding, and refrigeration temperatures.
- FDA: Bad Bug Book — Why kidney beans must be thoroughly boiled before eating.
- University of Illinois Extension: Kidney Beans and Slow Cookers — Practical instructions for safely preparing dried kidney beans.
Keep going
- My Emergency Cooking Fuels article shows how long a fuel supply really lasts.
- Cooking Without Constant Heat has more retained-heat recipes.
- My Dried Beans article covers cooking beans safely with less fuel.
- Use the Food Storage Calculator to plan the food you'll be cooking.